 MindHub
How to play Knight's Tour
A single knight stands on a square board. It moves only in an L shape. Jumping like that, visit every square exactly once and you win. No square twice, and none left out. It looks simple, and you will get stuck at least once early on. But one trick makes it come out almost every time — and that trick is explained here.
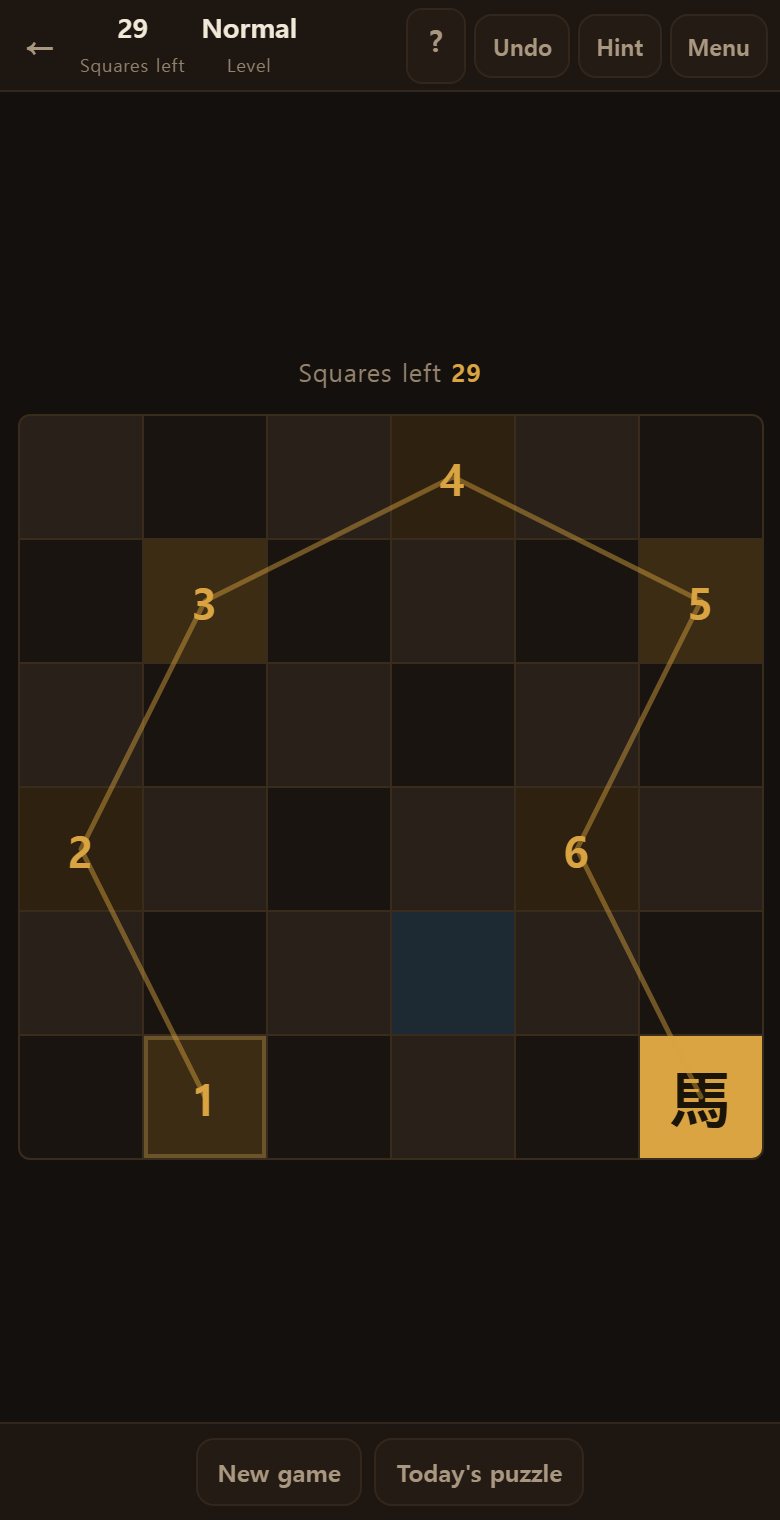
First, a look at the screen
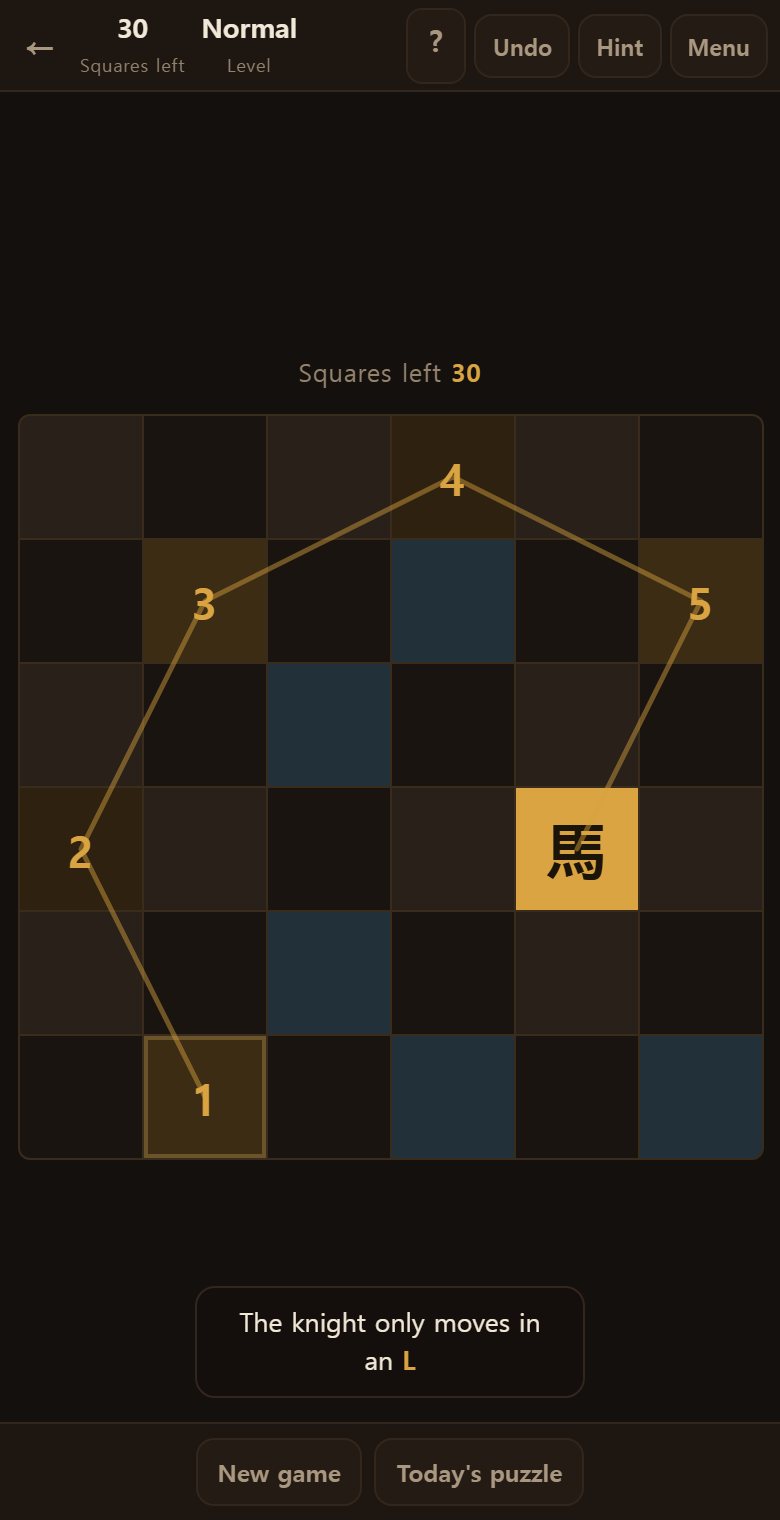
The square board sits in the middle, and the 馬 on the gold square is the knight.
- The 馬 on gold — where the knight stands now.
- The blue squares — where it can jump. Tap one to jump.
- Numbered squares — already visited, marked with the step they were visited on.
- The solid gold line — the path you have taken.
- The top — squares left, time and difficulty.
When squares left reaches 0, it ends there.
The knight jumps in an L
It never moves in a straight line. It goes one square then two across, or two squares then one across — an L shape.
- Two up, then one left or one right
- Two down, then one left or one right
- Two left, then one up or one down
- Two right, then one up or one down
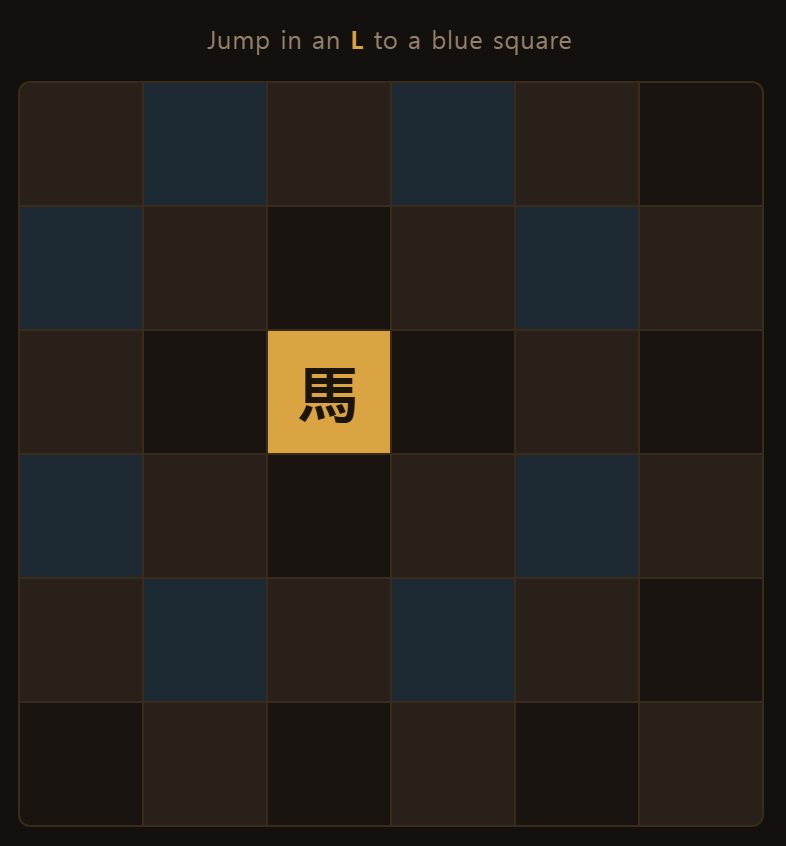
That makes eight in all — though it cannot leave the board, so the number falls near the edges.
The edges offer fewer moves
In the middle of the board all eight are open. In a corner, only two.
Do remember that. The whole trick of this game comes from it.
- The four corners — two moves.
- The squares beside a corner — three or four.
- The edge rows — four to six.
- The middle — eight.
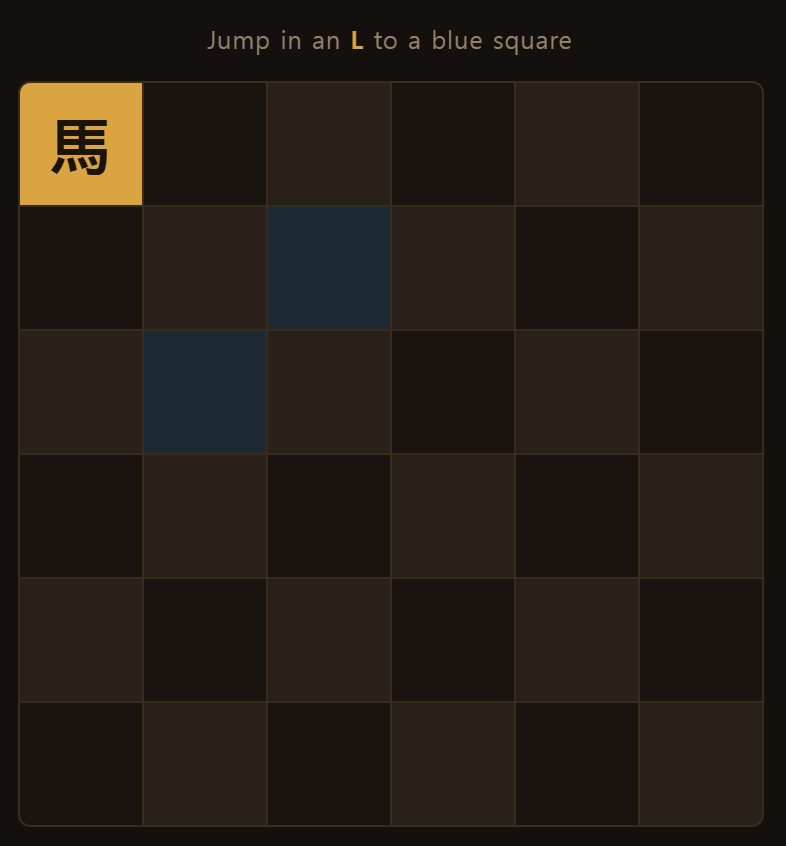
The four corners always have two moves, and the squares beside them only three or four. A square with two moves has exactly one way in and one way out. Spend one of them early and that square becomes impossible to reach at all.
Each square once only
A square once visited cannot be visited again, and it keeps the number of the step it was visited on.
Every square has to be visited once for the tour to finish. Not one may be left out.
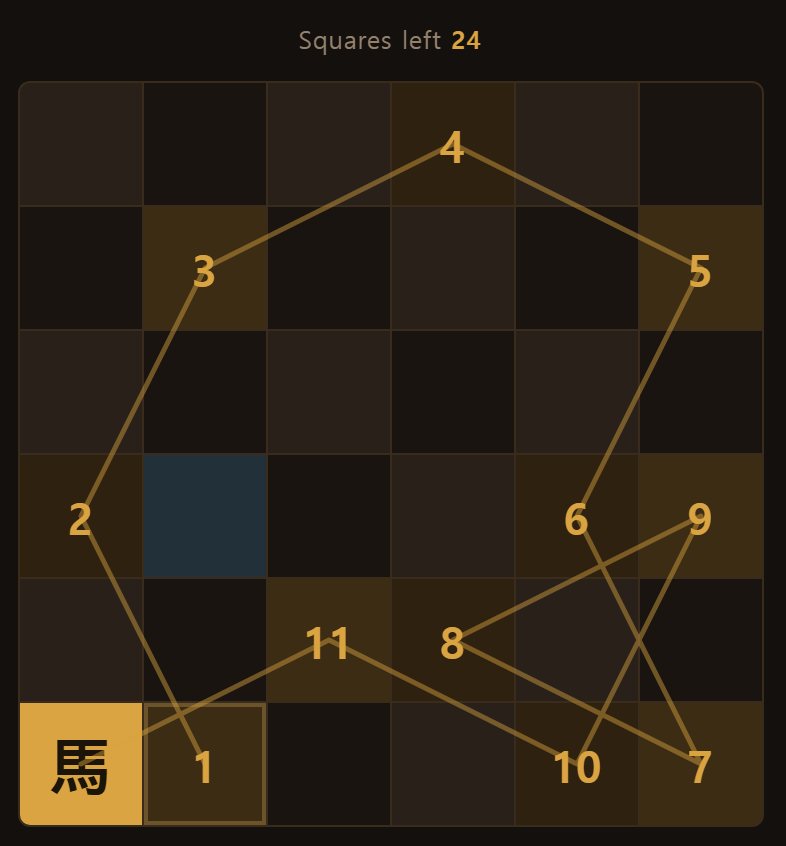
Tapping a visited square does not revisit it — it rewinds the tour back to that square, which makes retracing a wrong turn easy.
Every jump changes colour
Look closely and the board alternates in colour, like a chessboard. And here is the curious thing — an L-shaped jump always changes colour, whichever of the eight it takes.
So the squares you visit run light, dark, light, dark …
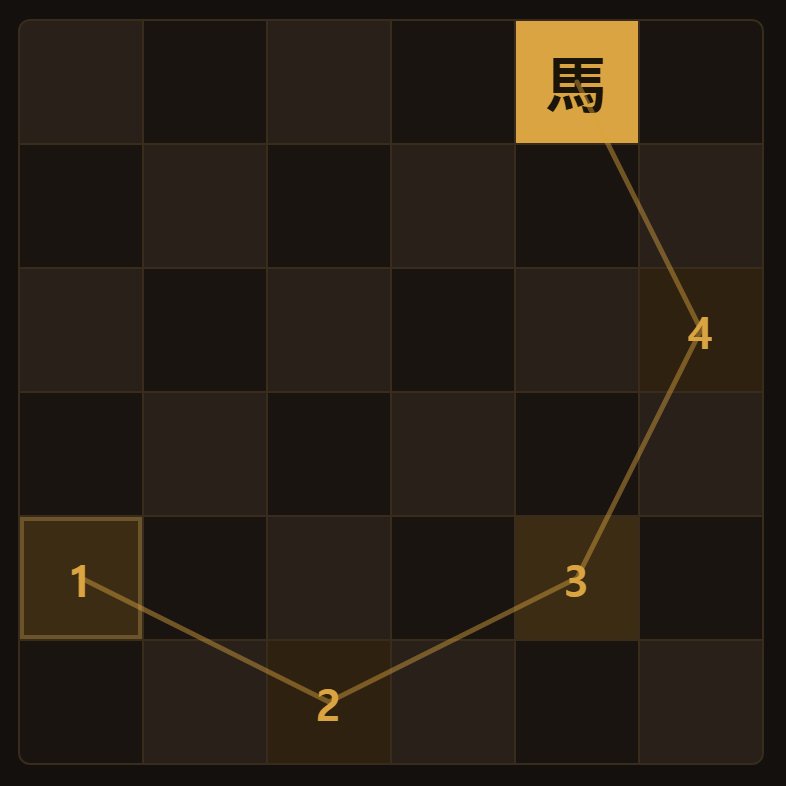
It seems a small thing, but it does a great deal of work in the next section. Count it for yourself. From a light square you always land on a dark one, because whether you go two across and one down or one across and two down, the squares travelled add up to an odd number.
The secret of the 5x5 board
A 5x5 board has twenty-five squares, and the colours divide 13 and 12 — an odd number cannot split evenly.
Since every jump changes colour, visiting all twenty-five means the sequence must run 13-12-13-12-…-13. Which means you have to start on the colour with thirteen.
- The colour with thirteen is the one containing the four corners.
- From any of those thirteen, the tour can be completed.
- Start on one of the other twelve and nothing will make it work.
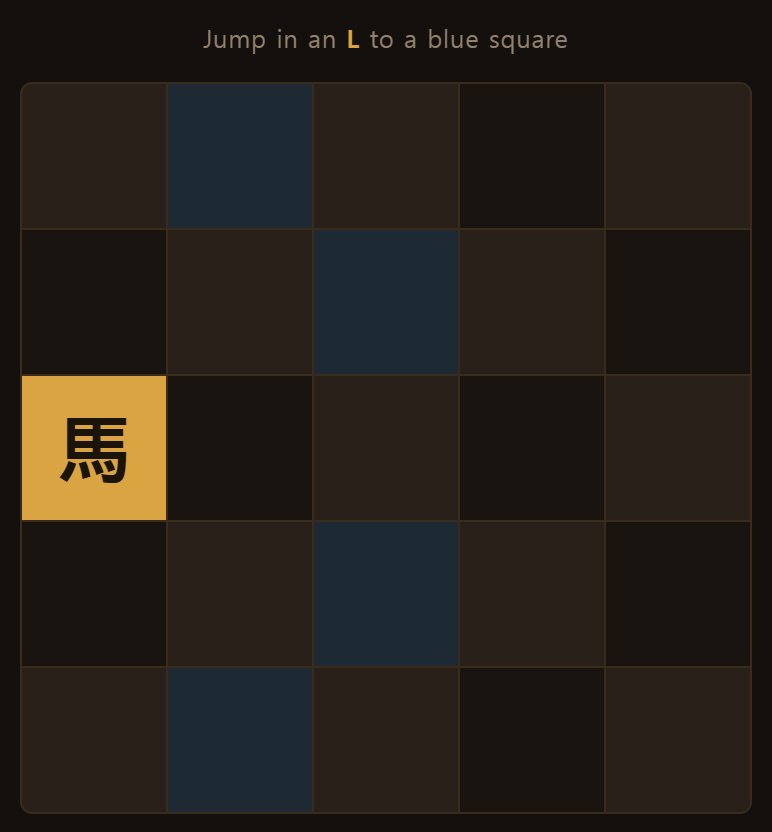
So on a 5x5 board here, you always start on a square the tour can be completed from.
Only completable boards are handed out
This is not merely asserted — every board is actually toured all the way through before it is handed out. A starting square that cannot be completed is discarded and another chosen.
So every board here can be completed. A jam is never the board's fault, only the order you took.
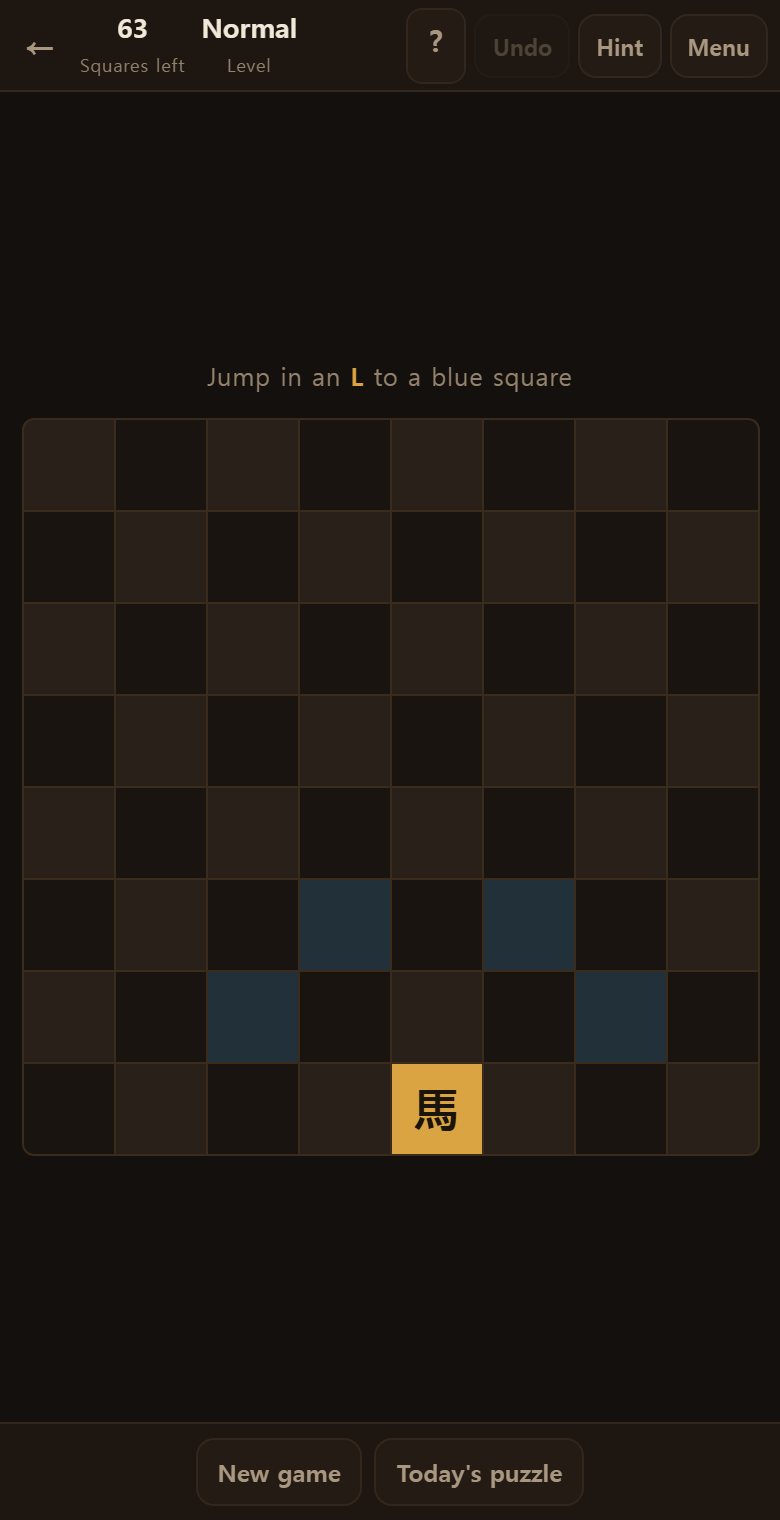
A link someone sends you is toured again at your end. Hand-editing it to send an impossible board will not open.
The trick — fewest onward moves first
There is a very old trick for this, and it is one line long.
Go to the square with the fewest onward moves.
Why? Because a square with few moves offers few chances to be reached. Put it off and it ends up stranded alone, unreachable.
- On Easy, each blue square shows how many moves lead on from it.
- Take the smallest number among them.
- When several share the smallest, any of them will usually do.
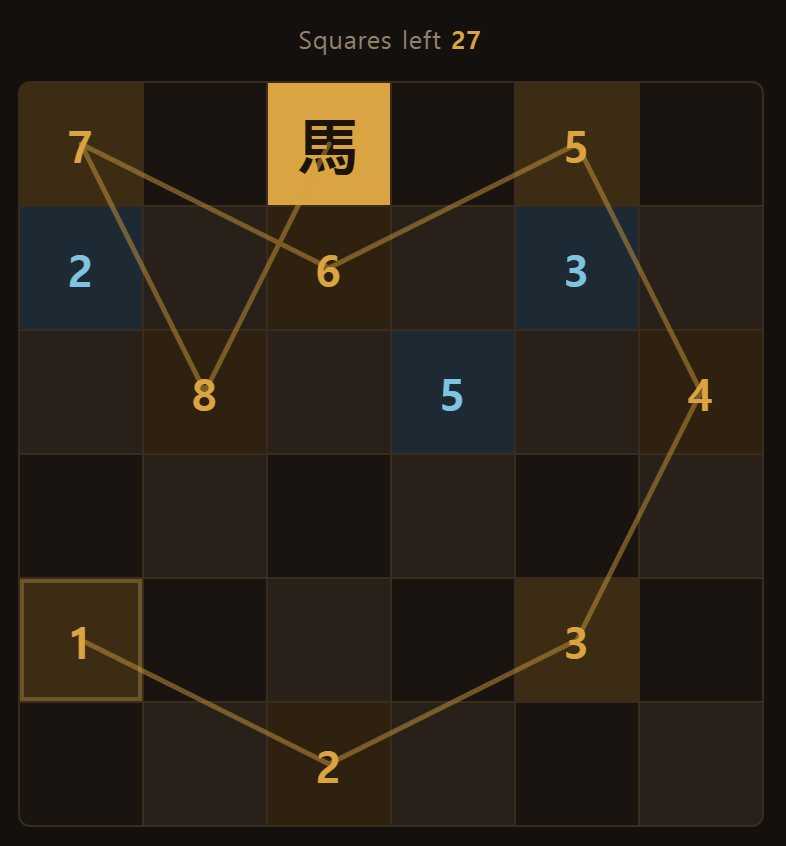
Hard as it is to believe, this alone completes 5x5 and 6x6 almost every time, and 8x8 more often than not.
Why the trick works
Turn it round and it is obvious.
A square with many moves can still be reached later by many routes. There is no hurry.
A square with few may have no next chance at all. One down to a single move is lost forever if you pass it by.
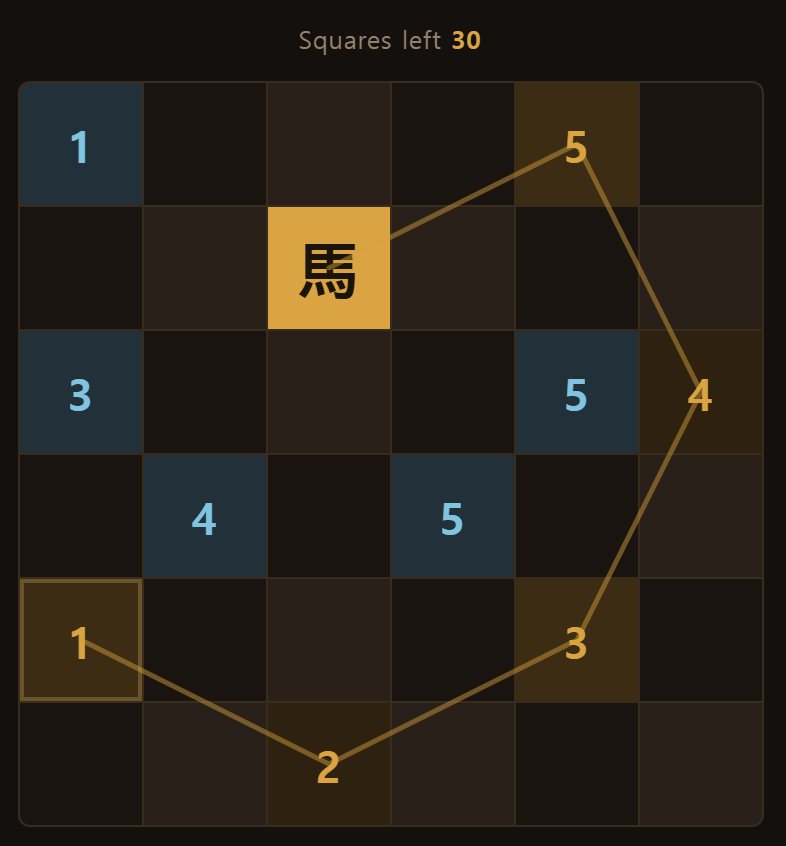
So you are simply doing the urgent thing first. “Take the corners early” is the same advice in other words.
Dead ends
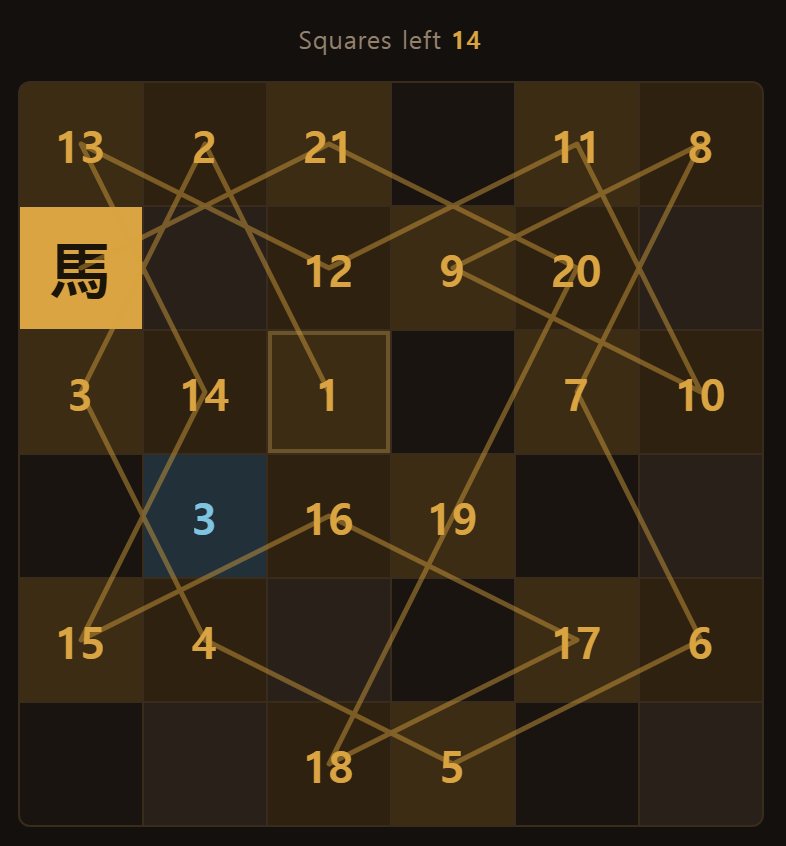
Choose the wrong order and there is nowhere left to go. The screen says so in red.
Squares remain unvisited and you cannot move. Undo back to the fork and take the other way.
- How far to go back — not to the move before the jam, but to a square where several moves were available.
- Tap a visited square directly and the tour rewinds to it in one go. There is no need to undo step by step.
- After rewinding, take the way you did not take before. The same way jams the same way.
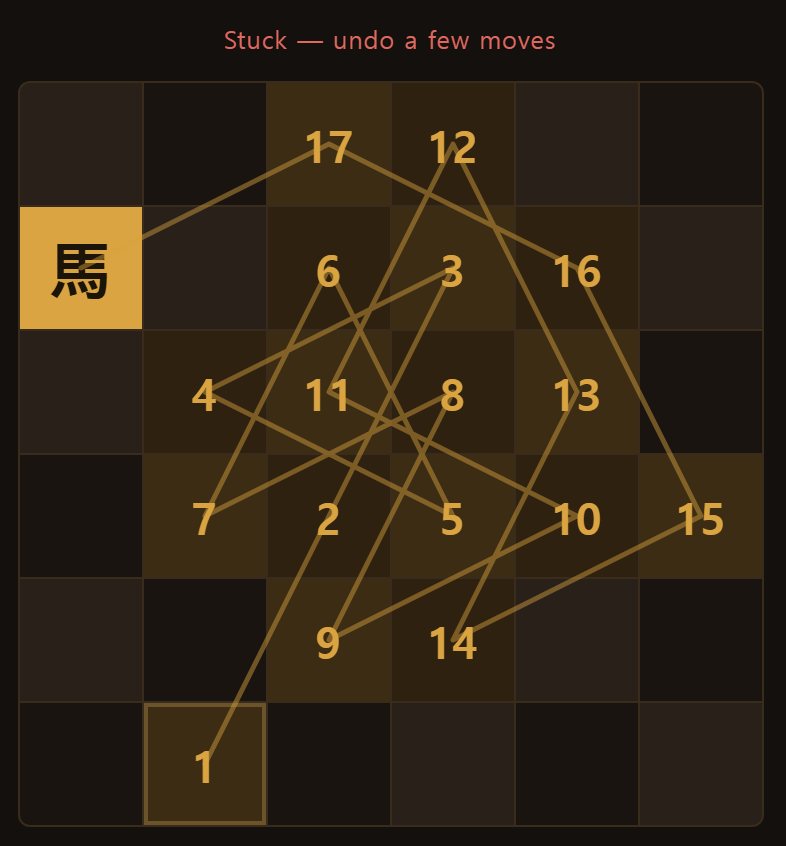
Getting stuck is no disgrace — it is how this game is learned. A few jams and the trick settles into your hands. When you jam, look at where the unvisited squares are clustered. Usually they sit off in one corner, cut off — you closed the way to them yourself, some moves ago.
Rewinding in one go
There is no need to press undo ten times. Just tap a visited square and the tour rewinds to it at once.
Twenty steps in and convinced it went wrong at the eighth? Tap the square marked 8.
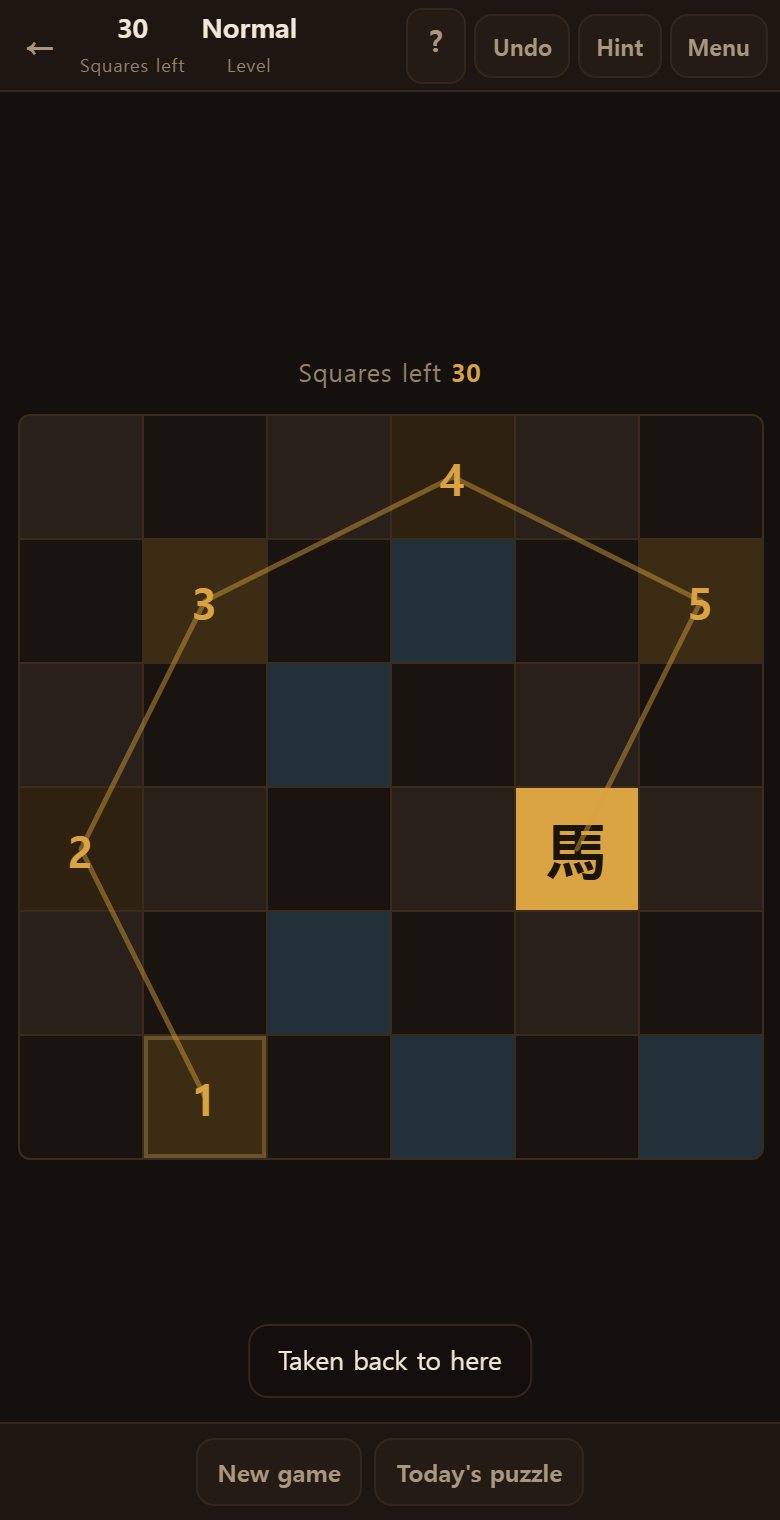
To go back a single step, press Undo at the top. On a keyboard it is Ctrl+Z.
Hint
Press Hint at the top and it marks the next square in blue, drawing the jump as a dotted line.
- If the tour can still be completed, it points and says where to jump.
- If it is already lost, it tells you this path cannot complete.
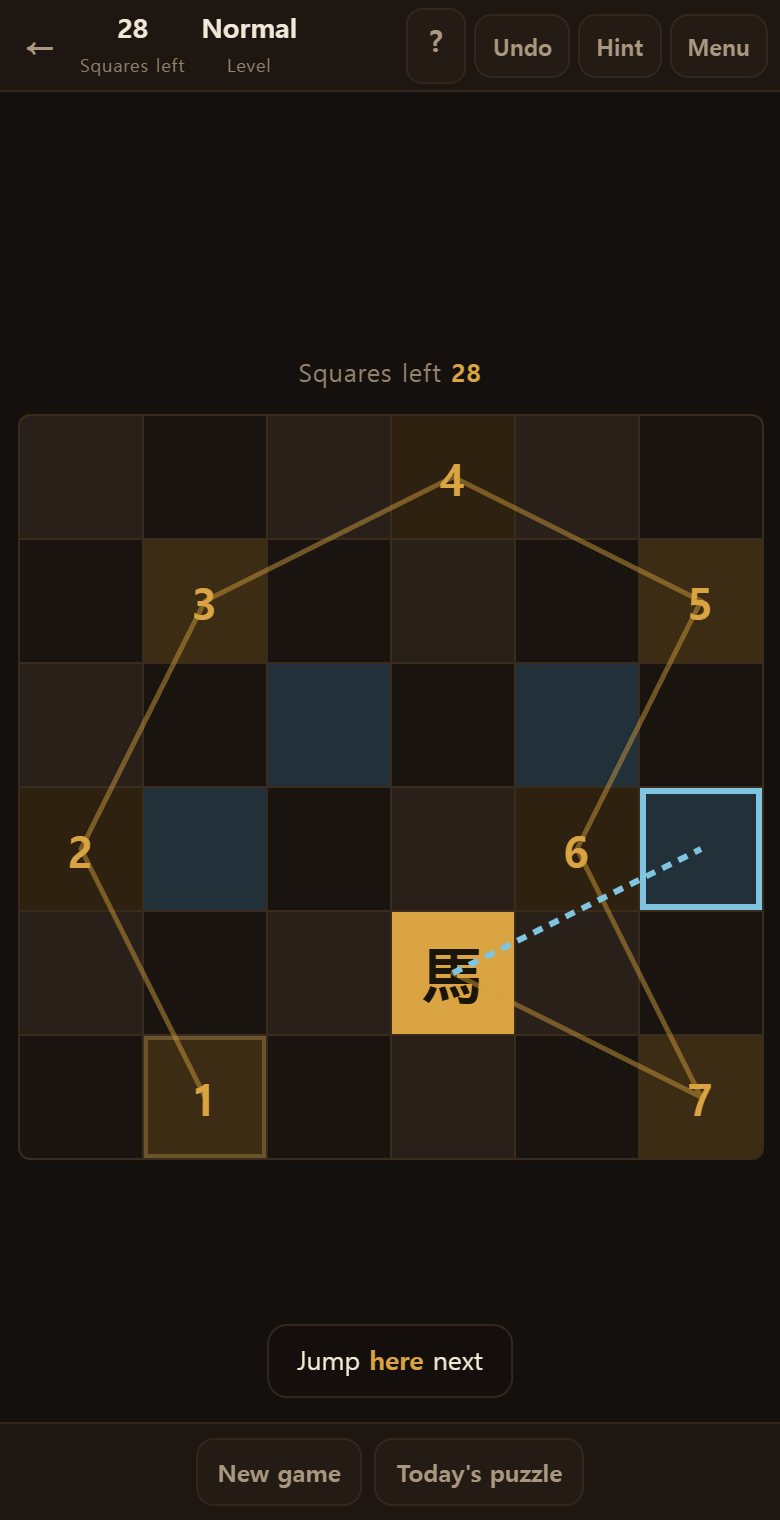
The second is particularly useful, since it warns you while moves still remain that the tour cannot finish. The hint answers by actually completing the remaining board.
Board size and difficulty
The menu sets board size and difficulty. Difficulty here does not make the board harder — it changes how much help you get.
- 5x5 — twenty-five squares. The board where the colour argument comes into play.
- 6x6 — thirty-six squares. The best size for most purposes.
- 8x8 — sixty-four squares, the size of a real chessboard. A tour takes a while.
- Easy — marks the available squares and writes how many moves lead on from each.
- Normal — marks the available squares in blue and no more.
- Hard — no marks at all. You find the L shapes by eye.
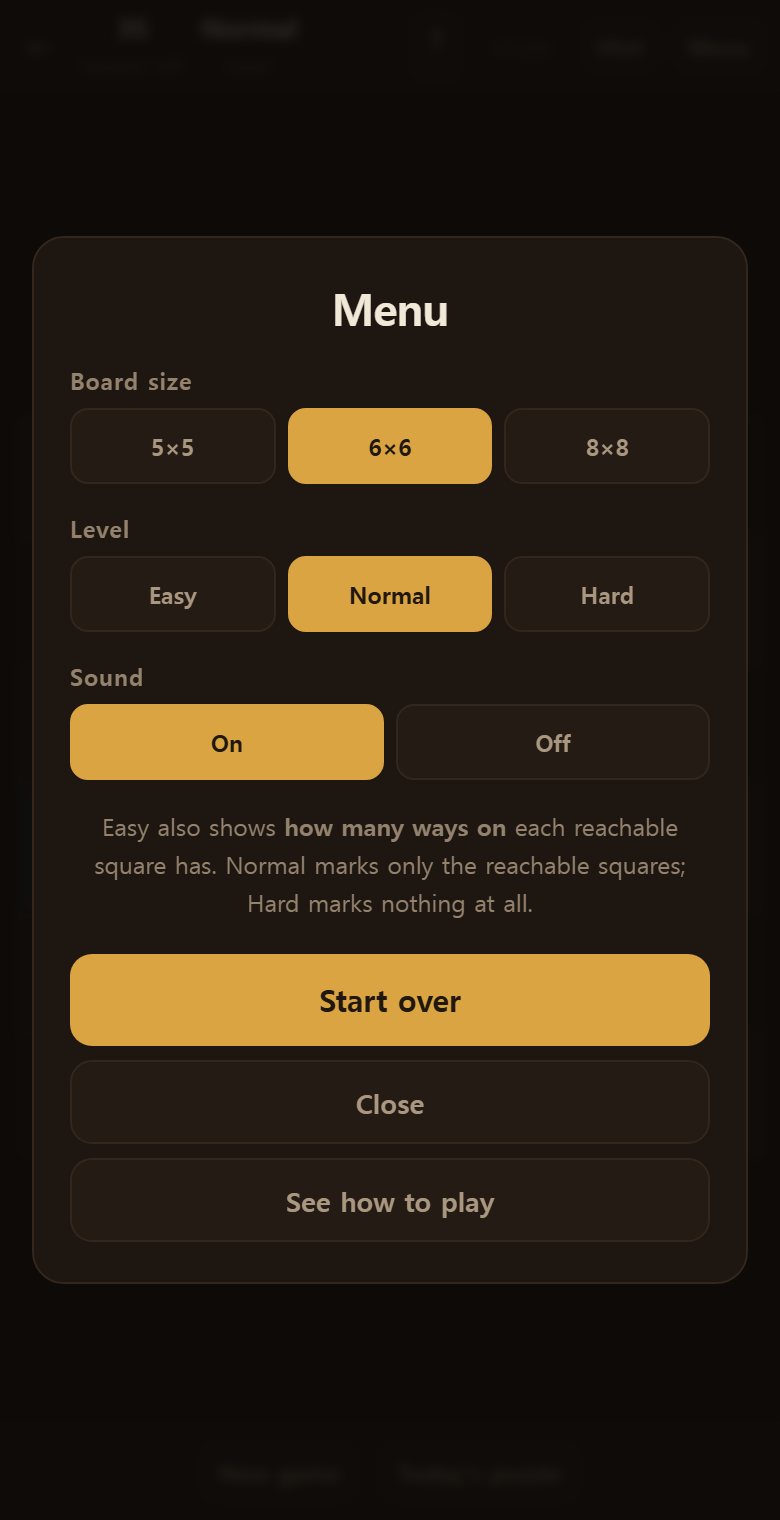
Start with 5x5 on Easy. Following the numbers alone will finish a tour.
The path you have taken
The visited squares join into a solid gold line, which shows at a glance what you have left behind.
A line bunched on one side with the other standing empty is a warning. Check whether a way across still remains.
- A line that has crossed back and forth across the board is a good sign.
- A line circling one corner leaves the far side entirely untouched.
- Unvisited squares scattered in isolated pairs may already mean it is too late.
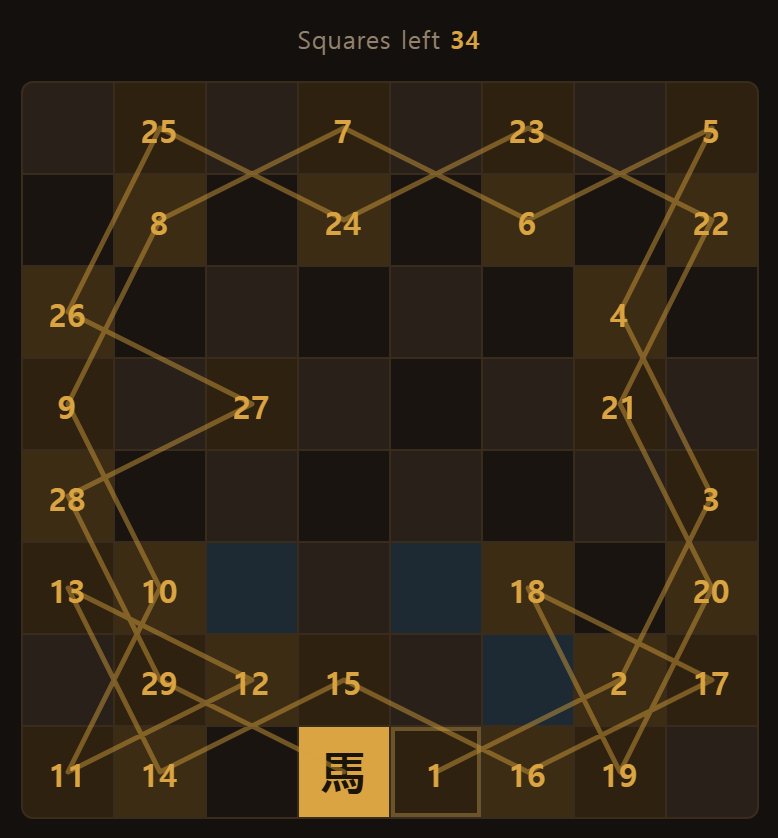
When the tour completes, the line and the squares all turn green. Glance over the line now and then. Noticing before you jam is far quicker than rewinding after.
Sharing, and today's puzzle
After a completed tour, Copy link sends this board to someone else. Opening it gives them the same size and the same starting square.
Today's puzzle below is set for the day. Everyone gets the same board, so times can be compared.
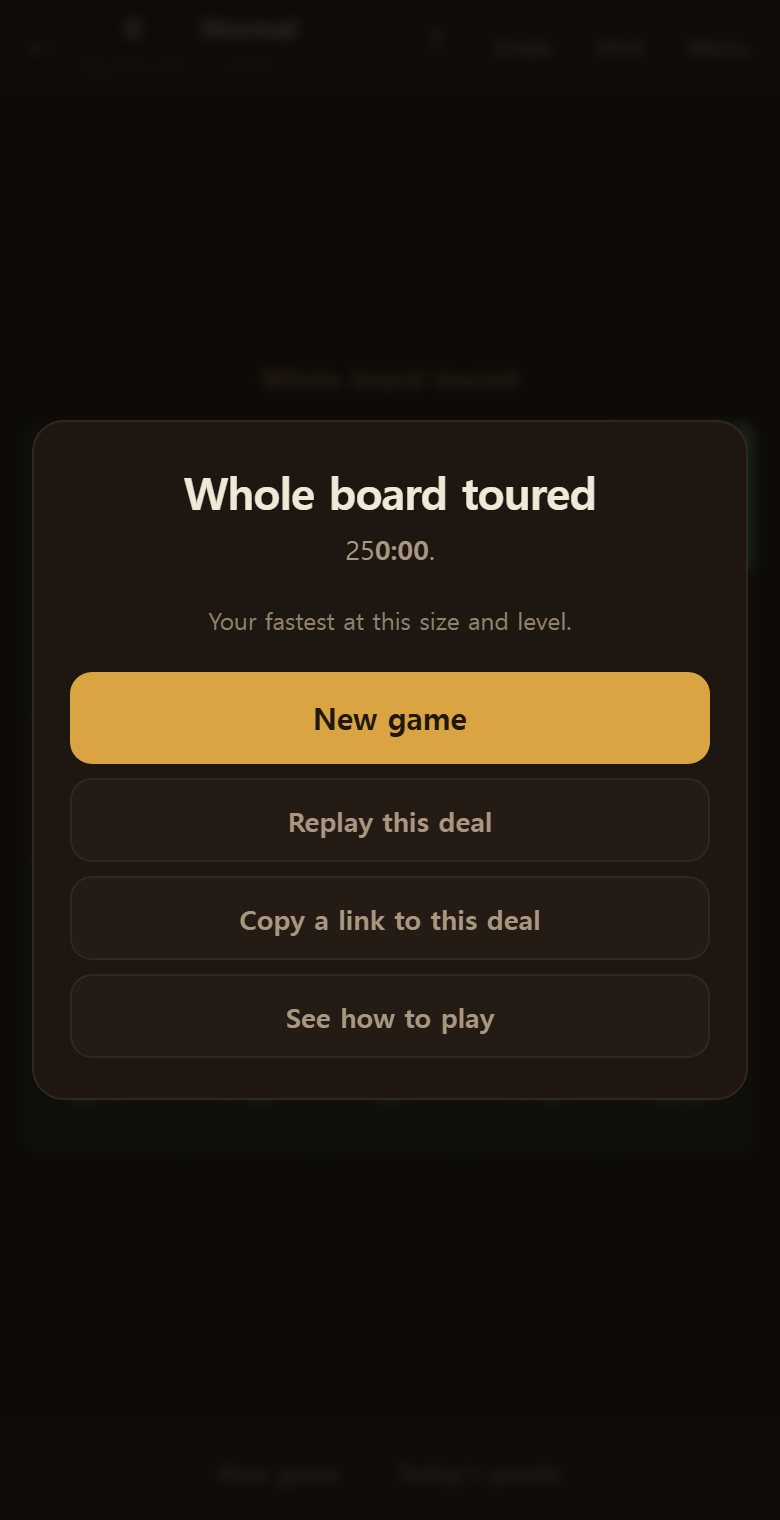
Their end tours it again to confirm the starting square really can be completed.
The tricks together
In this order, it usually comes out.
- Take the square with the fewest onward moves. This one thing is nearly all of it.
- The four corners have only two moves each. Take them early.
- A wide sweep round the edge, filling in the middle afterwards, is comfortable.
- Middle squares have eight moves and can be reached whenever. There is no hurry.
- A line bunched on one side is dangerous. Watch the far side too.
- When jammed, tap a visited square to rewind to the fork in one go.
- The hint will even tell you this path cannot complete. When in doubt, press it.
Common mistakes
Tours jam here in one of four ways, nearly always.
- Staying in the open — the commonest of all. The middle can be reached whenever, so there is no reason to go there first. Take the tight squares first.
- Leaving the corners for last — a corner has two moves. Spend both and it can never be reached.
- Mistaking the L for a straight step — neither the adjacent square nor the diagonal one is reachable. It is always one square plus two across.
- Pressing on until you jam — the hint will tell you in advance whether it is already lost.
A jam is the order's fault, never the board's. Every board here can be completed.
When the tour completes
Visit every square once and it ends there. The board turns green and your time is shown.
Replay starts the same board again from the beginning.
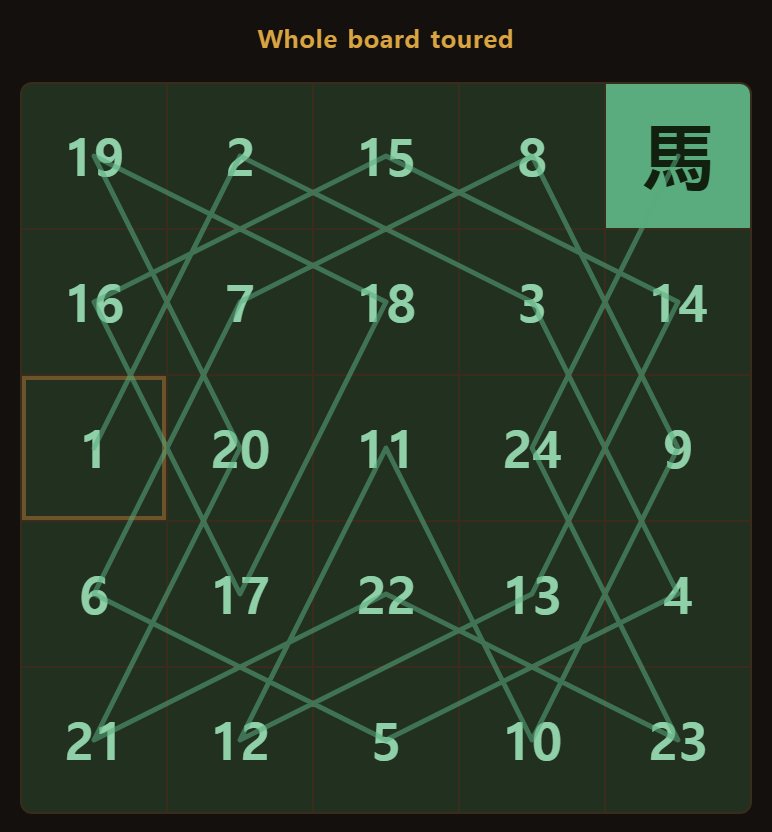
A best time is kept separately for each size and difficulty.
Common questions
One square then two across, or two squares then one across — eight moves in all. Neither the adjacent square nor the diagonal one is reachable.
No. Every board here is actually toured through before it is handed out. A jam means the order went wrong.
Go to the square with the fewest onward moves. That one thing is nearly all of it. On Easy the number is written on each blue square.
Because such a square offers few chances to be reached. Put it off and it is left stranded. One down to a single move is lost forever if you pass it by.
Just tap a visited square and it rewinds there at once. Tap the square marked 8 and you are back at the eighth step.
Every jump changes colour, and on a 5x5 the colours divide 13 and 12. Visiting all twenty-five means starting on the colour with thirteen. So you always begin on a square the tour can be completed from.
No. Those can be completed from any square, because an even number of squares divides the colours evenly.
It actually completes the remaining board. That is how it can tell you the tour will fail while moves still remain.
Yes — press Replay after a completed tour, or Start over in the menu.
- Take the square with the fewest ways on first. That one rule solves nearly everything.
- A corner square has only two ways on. Deal with it early.
- Going round the edge first and filling the middle later is easier.
- If you are stuck it is the order you chose, not the board. Undo a few moves.