 MindHub
How to play Bridges
Islands are scattered across the sea. Each carries a number, and that number is how many bridges must meet at that island. You win when every bridge is placed and all the islands are joined into one. If the islands fall into two separate groups, matching every number is still not a finish. That last condition is what makes this puzzle what it is, and what follows shows you how to reason about it alongside everything else.
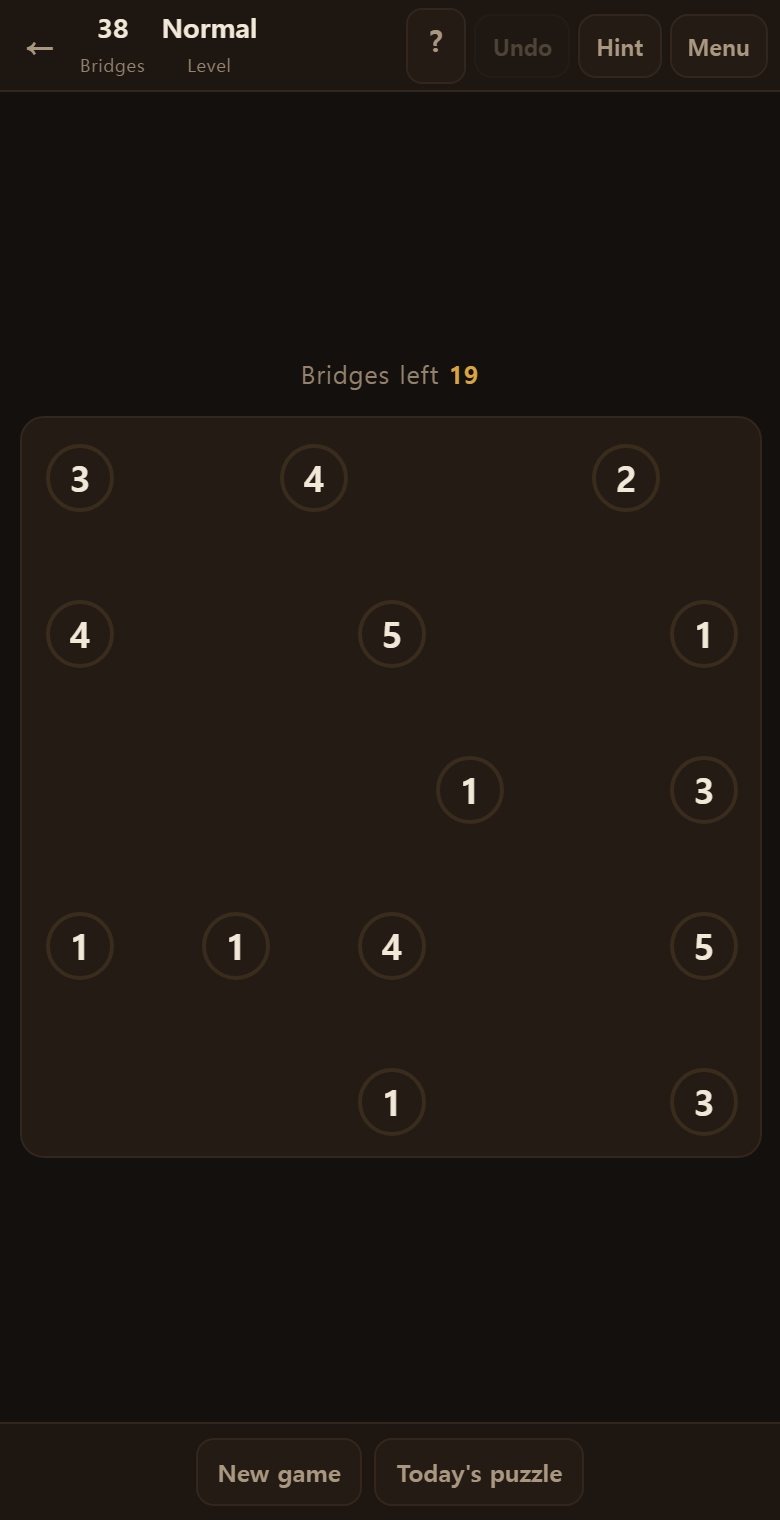
First, look at the screen
Round islands are scattered across the board in the middle.
- A circle — an island. The number inside is how many bridges it needs.
- The gap between islands — tap here to lay a bridge.
- The line above the board — how many bridges are still to be laid.
- The top bar — bridges left, time, and difficulty.
An island with all its bridges turns green; one that has overshot turns red. You can see at a glance what is finished.
This is what a finished board looks like
Every island has as many bridges as its number, and all of them are joined into one.
From any island you must be able to walk the bridges to every other.
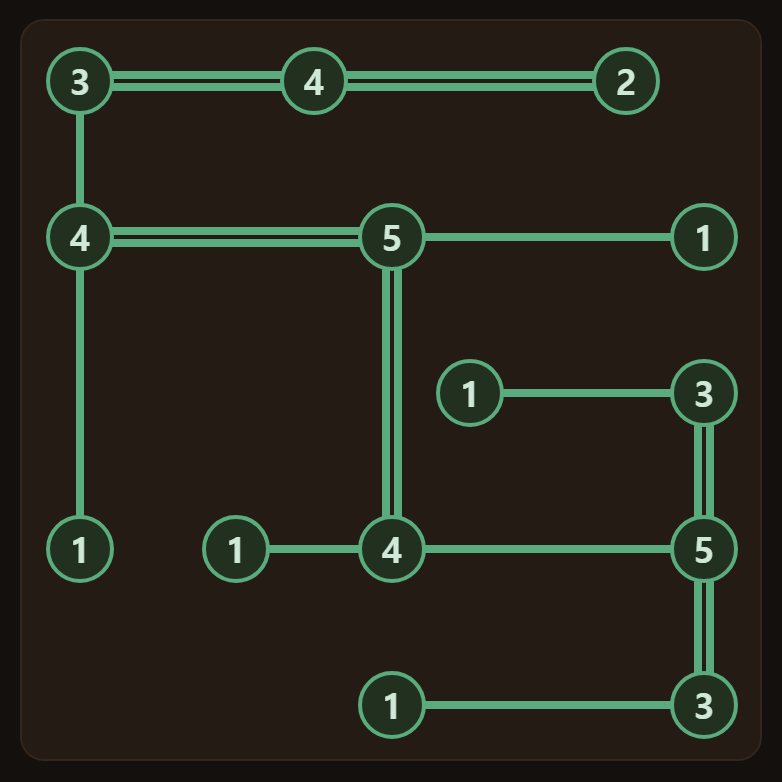
When the bridges turn green, it is finished.
Bridges run straight, across or down
Bridges run straight, across or down only. Never at an angle.
And two islands with another island between them cannot be joined — a bridge cannot leap over an island.
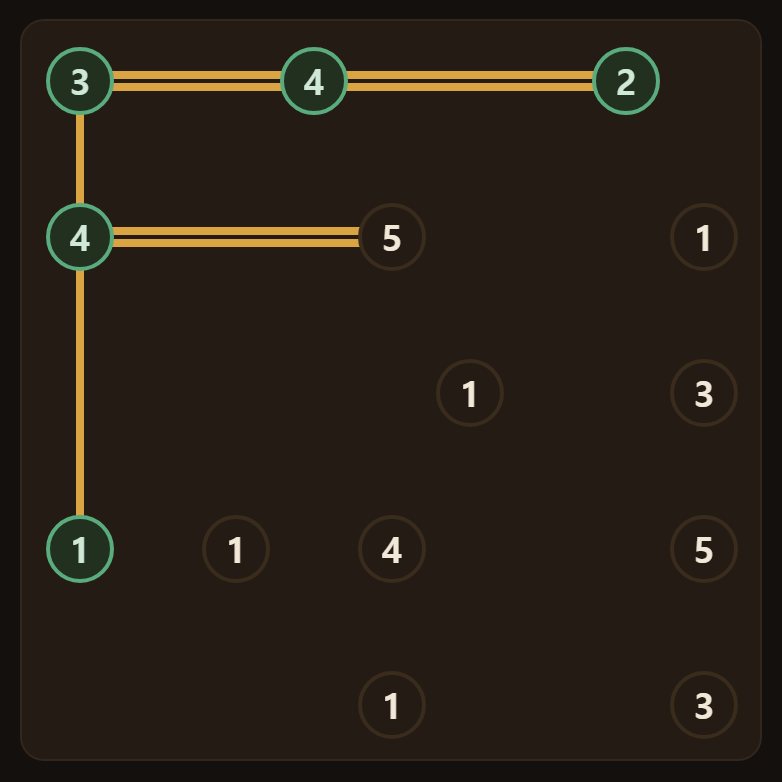
So an island can only join the nearest island above, below, left and right — four partners at most.
Two bridges to a pair
Between two islands you may lay one bridge or two. Never three.
A double bridge fills two of each island’s number.
- One tap on a bridge position — single.
- Two taps — double.
- Three taps — cleared.
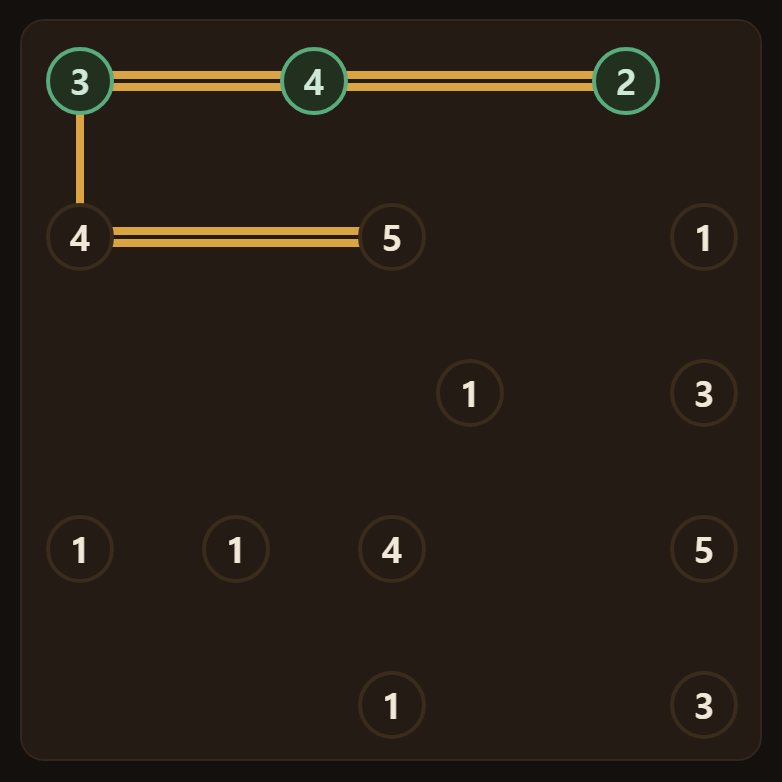
Right-click to cycle backwards — the double comes first.
Bridges cannot cross
You cannot lay a bridge across one already there.
So every bridge you lay kills off the pairs that would cross it. This is a very large source of clues.
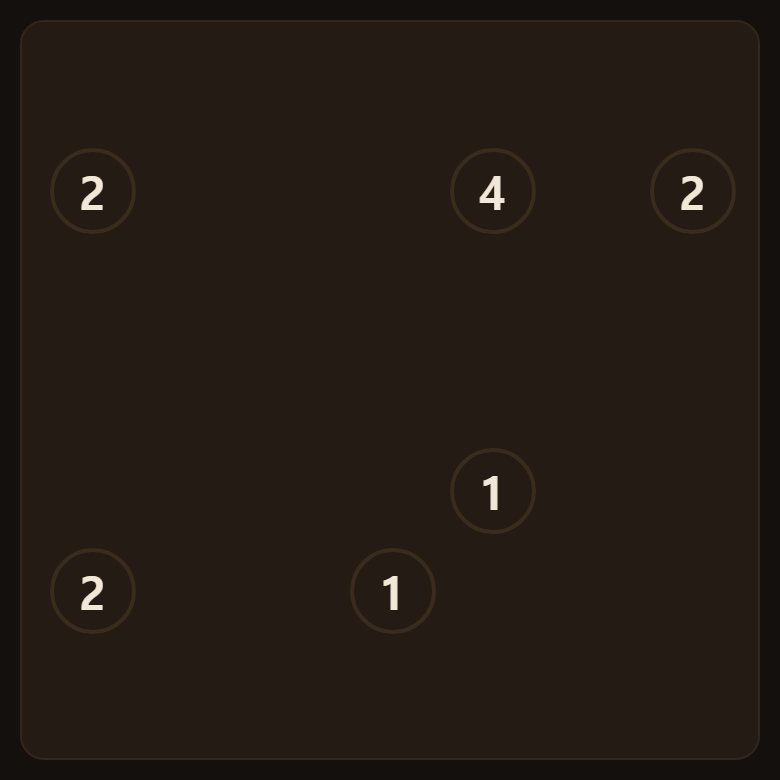
Try to cross and the game says it would cross another bridge.
The number is bridges, not neighbours
The number on an island is how many bridges must meet it, not how many islands it must join.
An island marked 4 needs four bridges — which could be doubles to two neighbours, or singles to four.
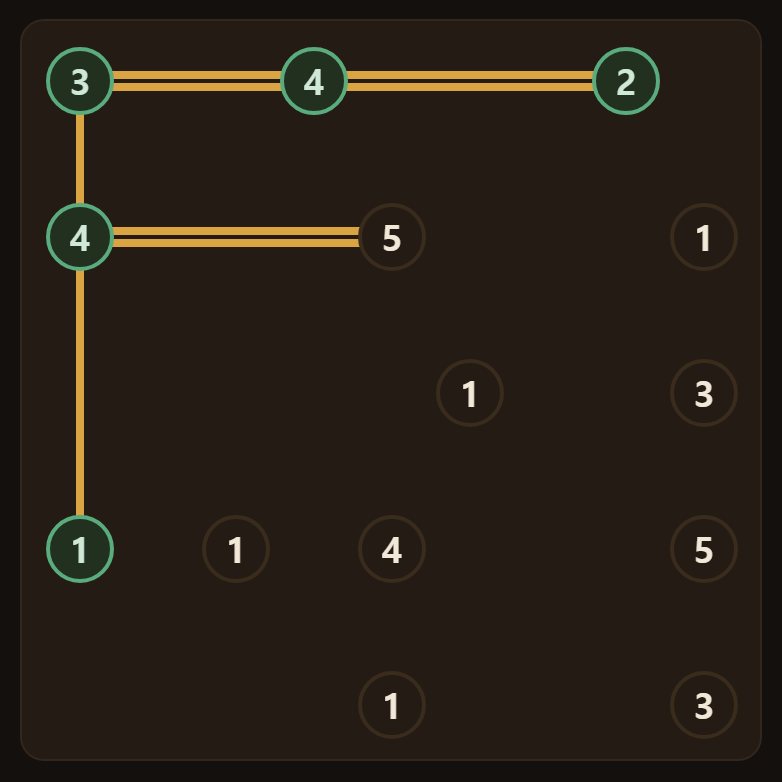
Numbers run from 1 to 8. An 8 means doubles to all four neighbours.
Every island must be joined into one
This is the puzzle’s last condition, and the one that trips people up.
Even with every number matched, if the islands fall into two separate groups it is not finished. There is no way to walk to the other group.
- From any island you must be able to reach every island.
- With the numbers right but the islands split, the game says the islands are in separate groups.
- Then you must clear something and rejoin it differently.
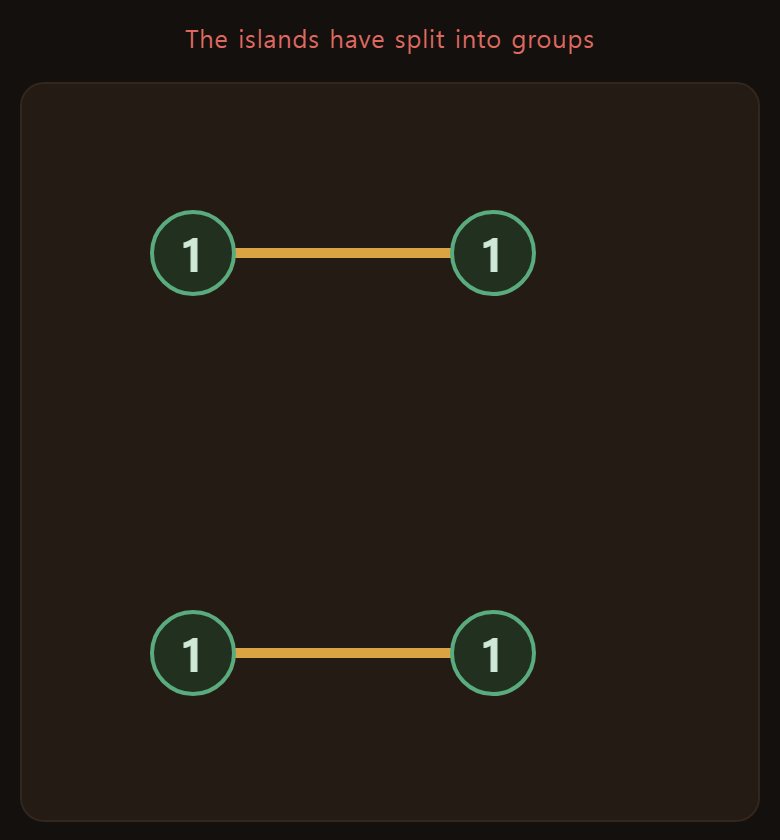
So as you lay each bridge, keep asking whether this one joins two groups.
Never join a 1 to a 1
A very useful rule falls out of that last condition.
What happens if you join two islands marked 1? Both fill their numbers and can take nothing more, so the pair closes off by itself. With three or more islands on the board, that can never be right.
- 1 and 1 — never join them.
- 2 and 2 — never with a double. A single is fine.
- 3 and 3 may take a double, since each can still lay one more.
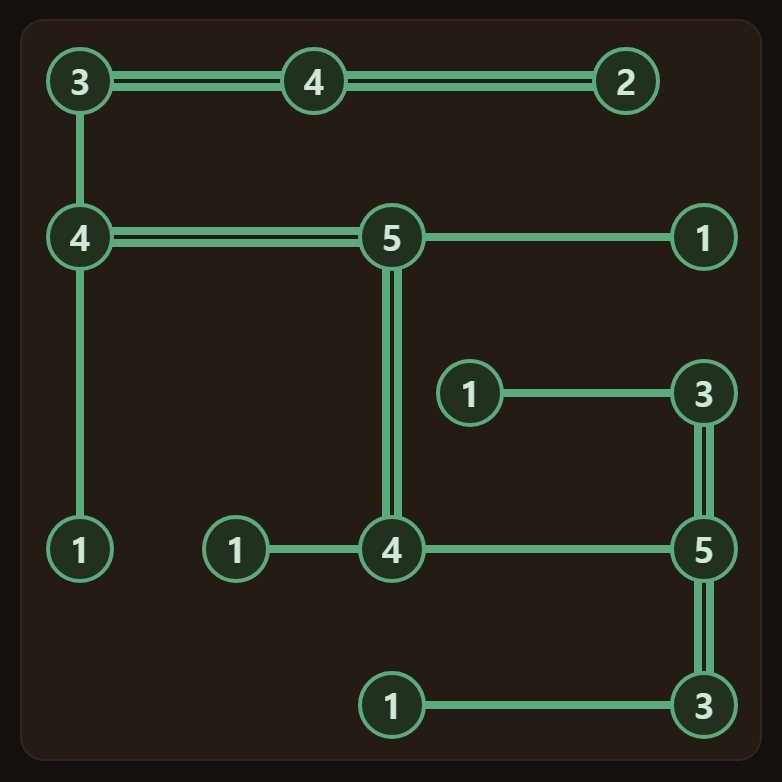
Without this rule a great many boards would not narrow to one answer. The hint uses it too.
How to tap
Tap between two islands, not on an island.
A position where a bridge can go lights faintly as you hover over it.
- Once — single. Twice — double. Three times — cleared.
- Right-click cycles backwards.
- Tap somewhere impossible and it tells you why not.
Crossing a bridge or overshooting a number gets you the reason. It does not simply refuse.
First job — find the islands with no choice
When a board opens, look first for islands with nothing to choose — where the number fits the neighbours exactly and no other arrangement is possible.
- A 4 in a corner — only two neighbours, so both are doubles.
- A 6 on an edge — only three neighbours, so all three are doubles.
- An 8 in the middle — four neighbours, so all four are doubles.
- An island with only one neighbour — whatever its number, it all goes to that one.
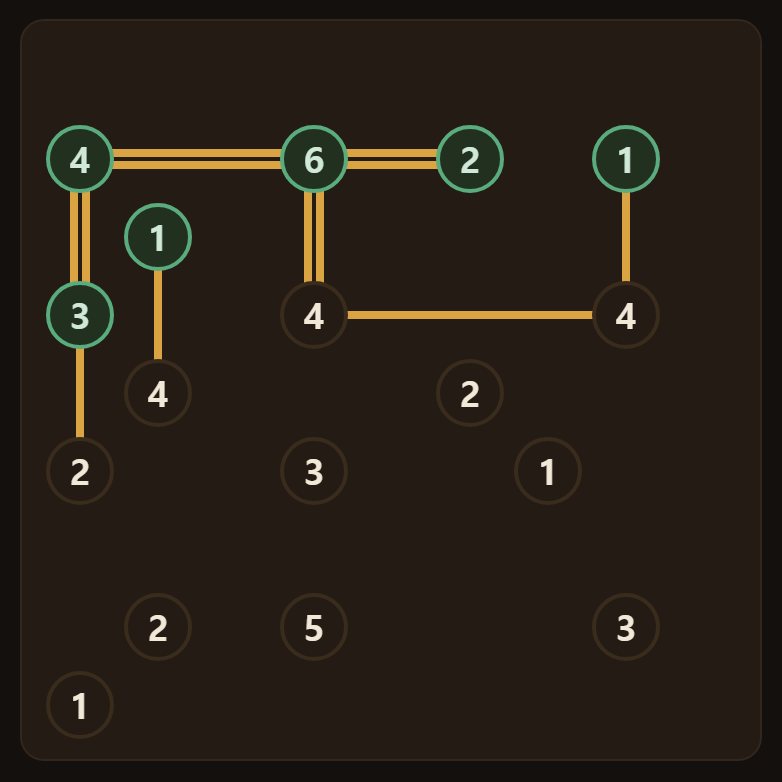
Fill these first and everything around them settles in a chain. This is your way in.
If it would fall short, it must be laid
This is the workhorse of the puzzle. It takes a little effort to learn, and pays for itself many times over.
Say an island needs 3 and has two neighbours. Two on one side and two on the other looks like plenty.
But suppose you lay nothing at all on one side: the other can give you two at most, which falls short of 3. So at least one bridge must go on each side.
- Take the number needed, and subtract the maximum everything except that link could supply.
- If that comes out above 0, that many must go on that link.
- Every bridge you lay changes this sum, so sweep it again.
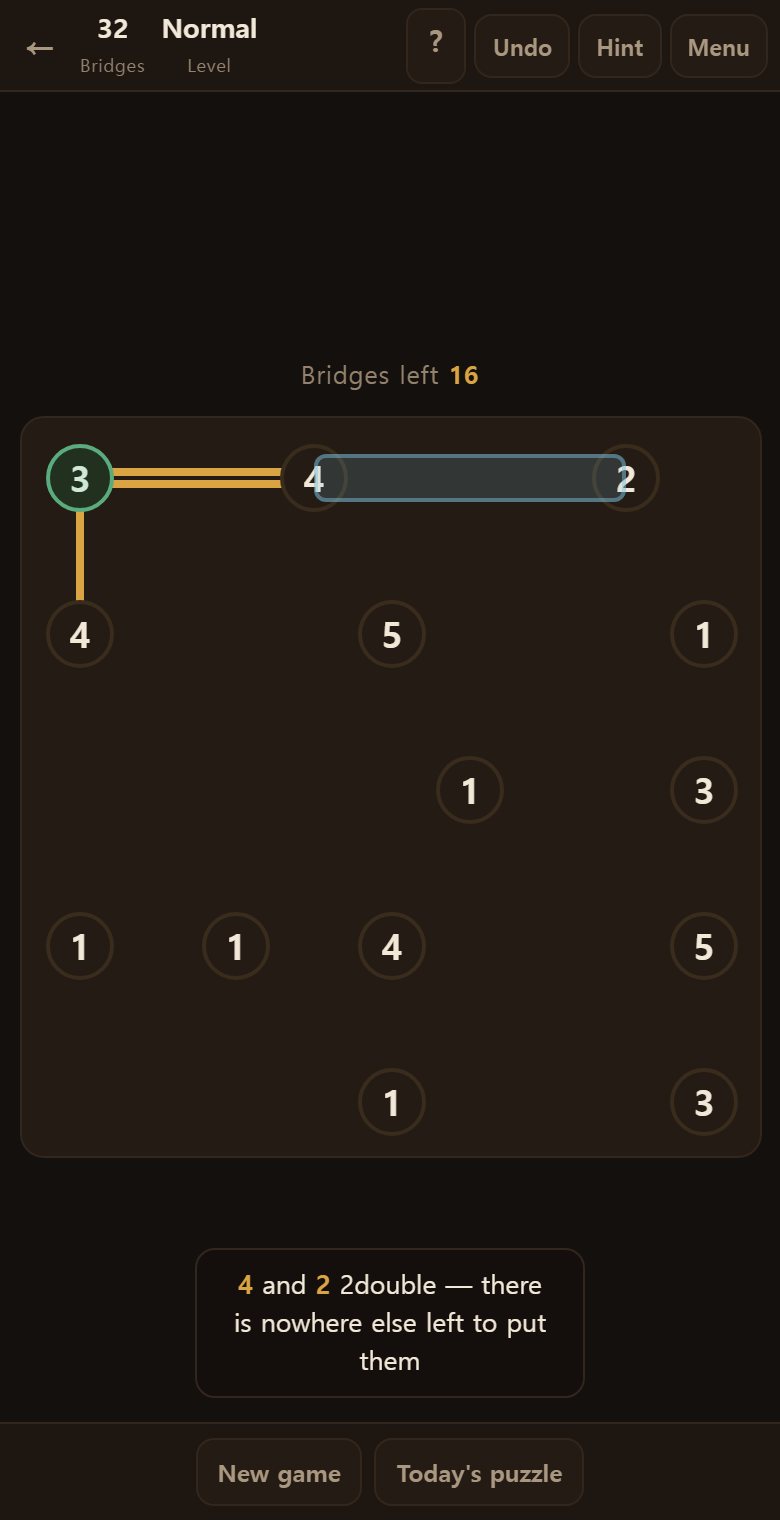
This is what the hint means when it says there is nowhere else to put enough bridges.
A finished island closes its surroundings
When an island fills its number, its remaining pairs die — nothing more can be laid there.
Treat a dead pair as though it were not there. The island at the other end then has fewer options, and something else settles.
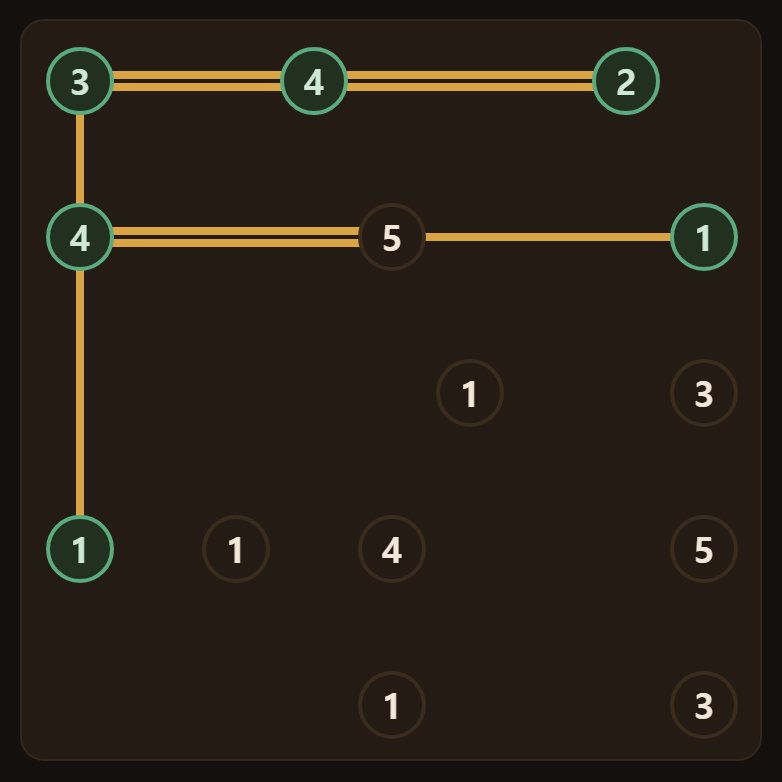
So after every bridge, check whether either island is now full. If one is, sweep around it again.
One bridge kills many
Lay one bridge and every pair that would cross it dies at once. The longer the bridge, the more die.
The islands at both ends of each dead pair lose that option, and they very often settle immediately.
- After laying a long bridge, sweep along both sides of its path.
- Look among the blocked islands for one whose options have dropped to a single choice.
- Which is why laying the long bridges you are sure of first pays.
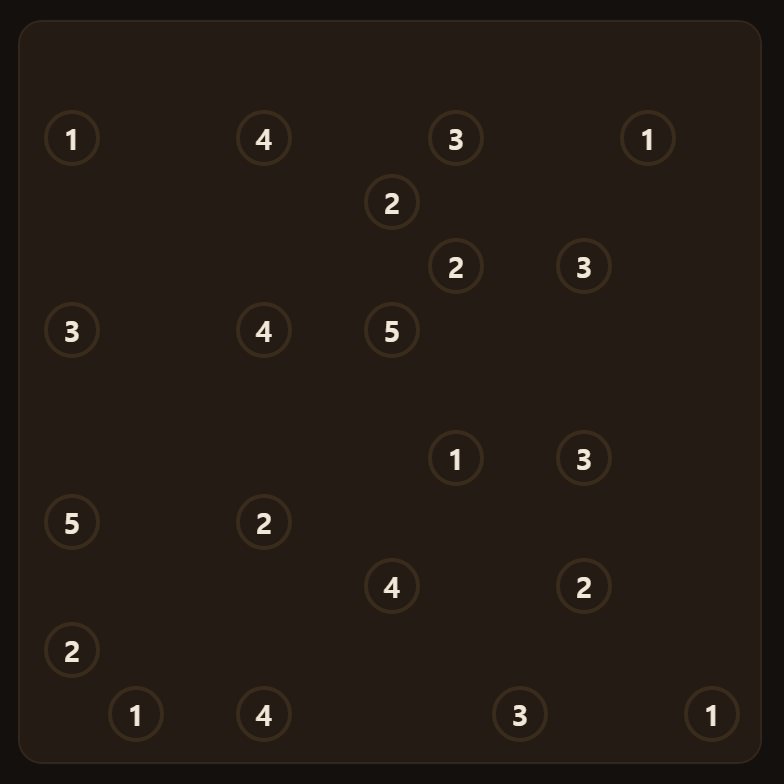
The moment a board suddenly opens up is nearly always just after a long bridge goes down.
The hint gives you its reason
Press Hint at the top and it marks the next bridge position with a blue band, giving how many bridges and why.
- This island has all its bridges, so nothing more can go here
- There is nowhere else to put enough bridges
- Joining 1 to 1 would close that pair off by itself
- If an island has overshot its number, it tells you about that first.
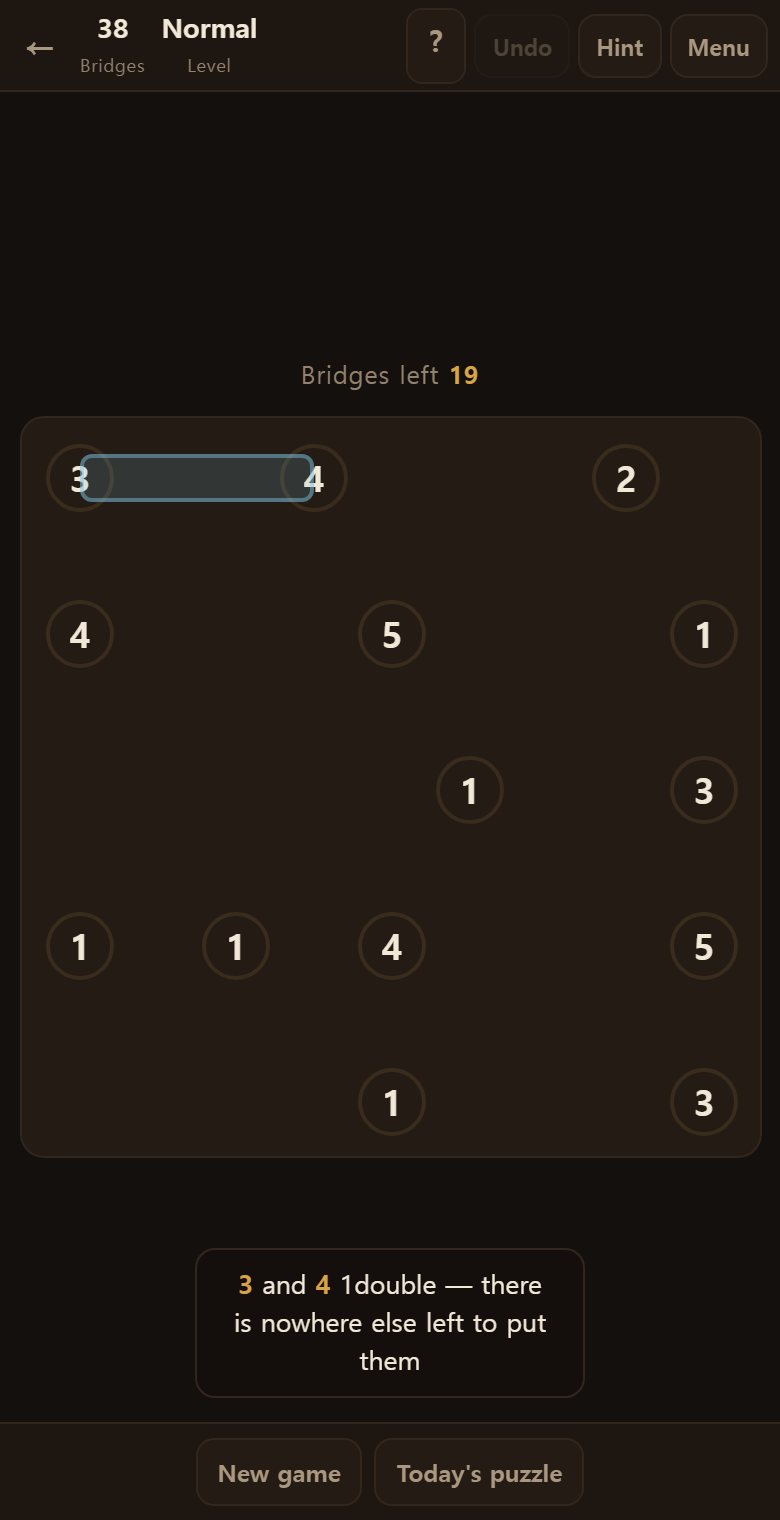
The count the hint gives means at least this many. Another may go down there later.
It tells you why not
Tap somewhere a bridge cannot go and it does not merely refuse — it gives you the reason.
- It would cross another bridge
- It would overshoot the island’s number
- Nothing can go here
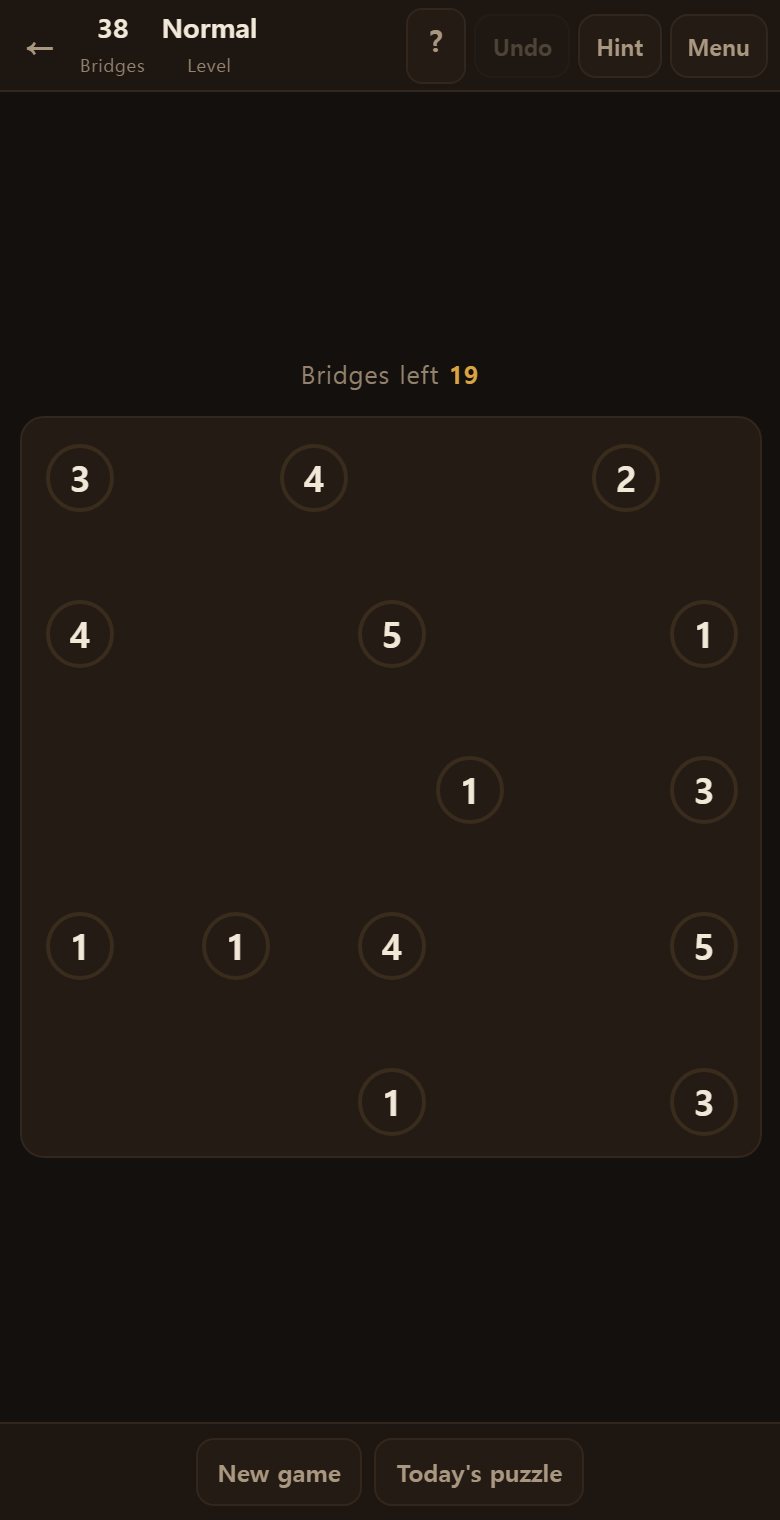
Crossings are especially easy to miss by eye. When the message appears, find which bridge is in the way.
Only boards with a single answer
Scatter islands and numbers carelessly and you get a board with several answers — where joining them correctly still gets you told you are wrong.
Here every board is checked to solve by reasoning alone. And a board that reasons through to the end already has one answer, because every step was forced.
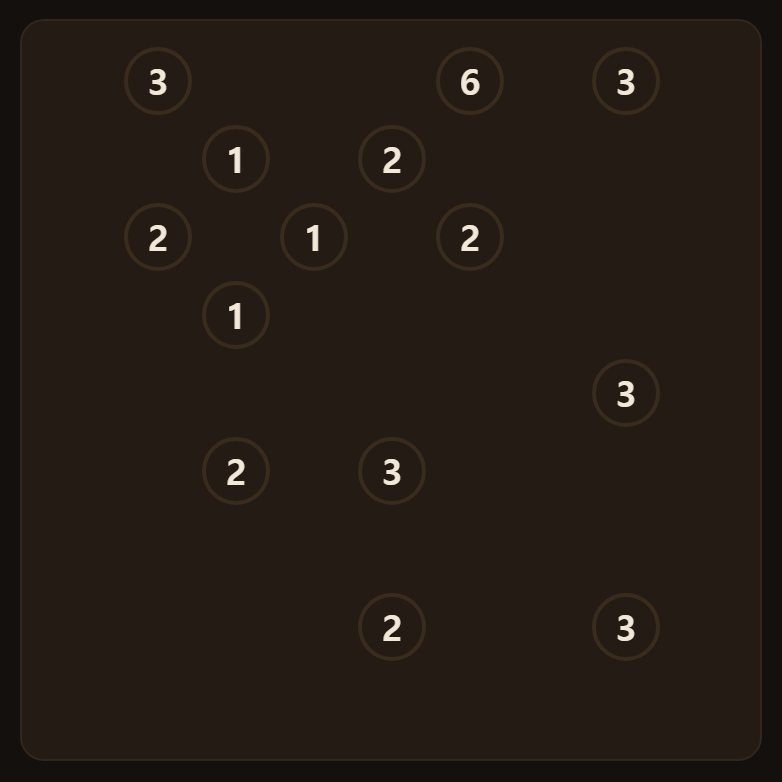
A board someone sends you is checked again at your end.
You never have to guess
There is no need to solve by “let me lay one here and clear it if it fails.”
Every board dealt here can be carried to the end with the reasoning described above and nothing else. That is checked before it is dealt.
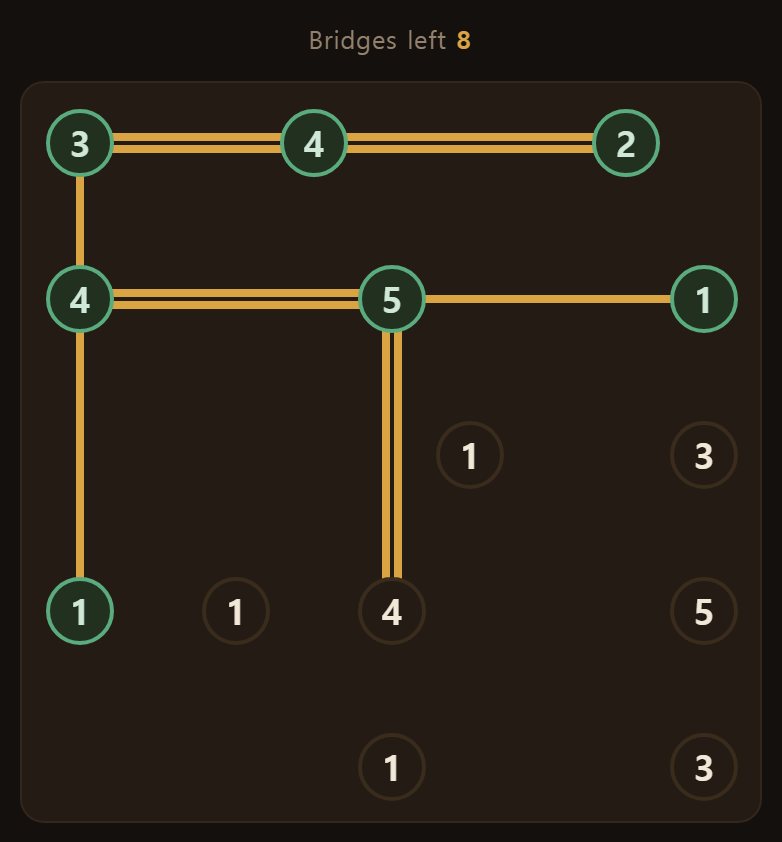
So being stuck means there is a clue you have not seen. Sweep again around the filled islands and the blocked pairs.
Board size and difficulty
Choose the board size and difficulty from the menu.
- 7 × 7 — six to ten islands. Good for learning the rules.
- 9 × 9 — eleven to seventeen islands. The size that suits it best.
- 11 × 11 — around twenty-five islands. A board takes a good while.
- Easy, Normal, Hard — the more islands, the harder.
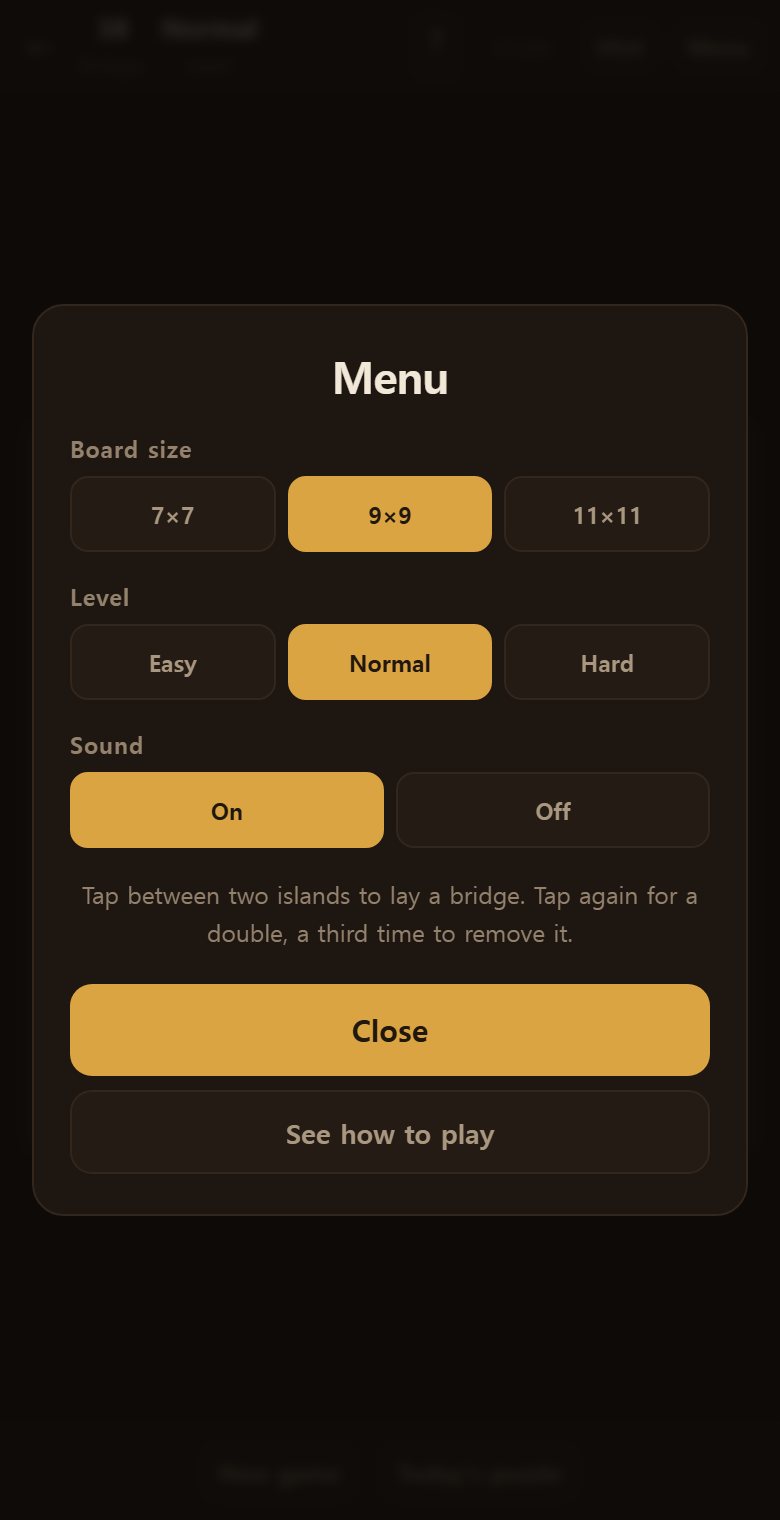
More islands means more crossing pairs, and far more to reason about.
Sharing a board, and today’s puzzle
When you finish, press Copy this board’s link to send it to someone. Opening that link gives exactly the same board.
Today’s puzzle, below, is one set board per day. Everyone gets the same one, so you can compare times.
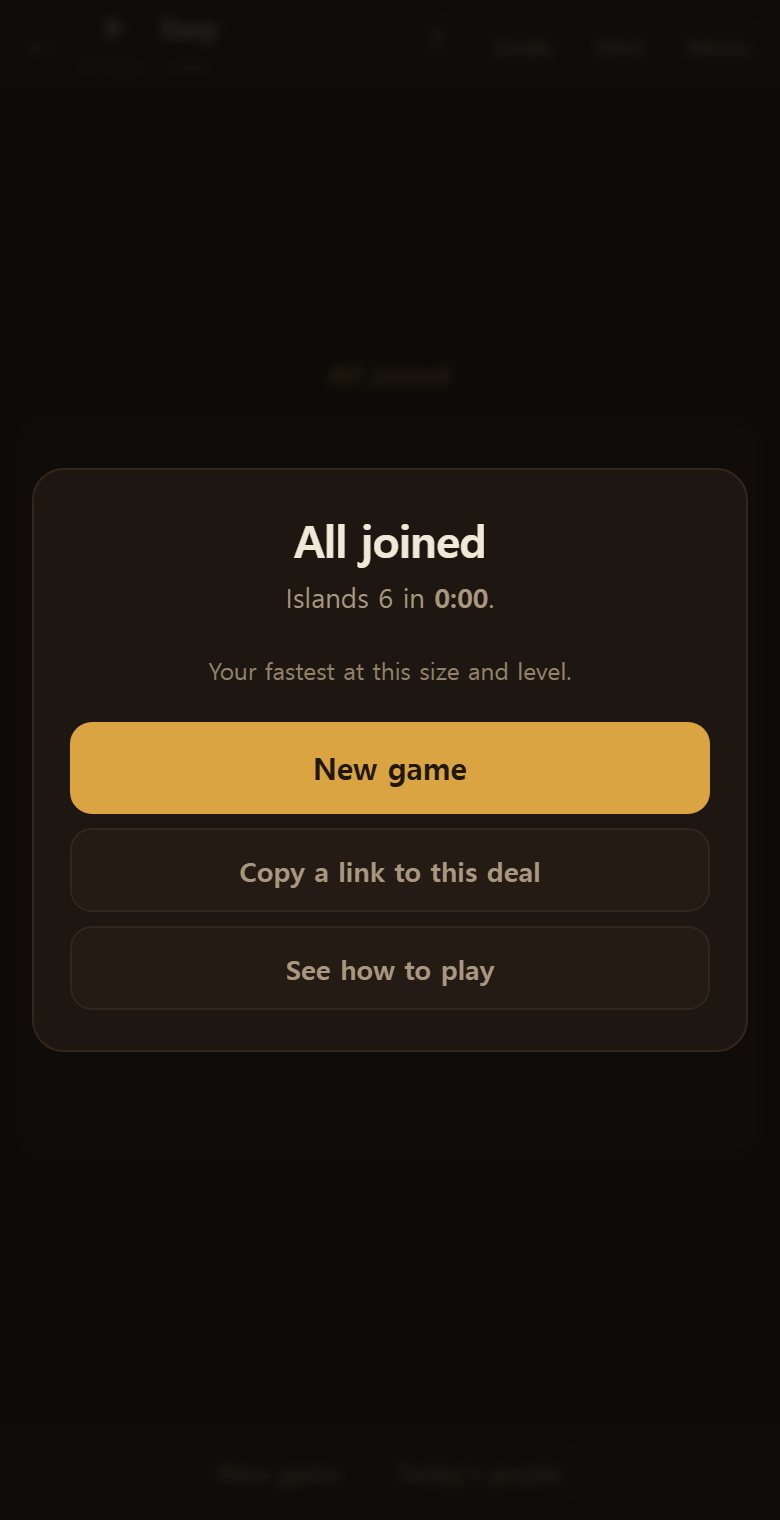
The receiving end checks for a single answer again too.
How to solve well
Work in this order and it usually falls.
- Start with a 4 in a corner, a 6 on an edge, an 8 in the middle. Nothing to choose.
- Find islands with only one neighbour. Whatever the number, it all goes there.
- Never join 1 to 1. Never put a double between 2 and 2.
- After every bridge, check whether either island is full. If so, its surroundings close.
- After every bridge, check which crossing pairs have died.
- At the end, always check that the islands are not split into groups.
- Stuck? Hint. It gives the reason too, so next time you see it yourself.
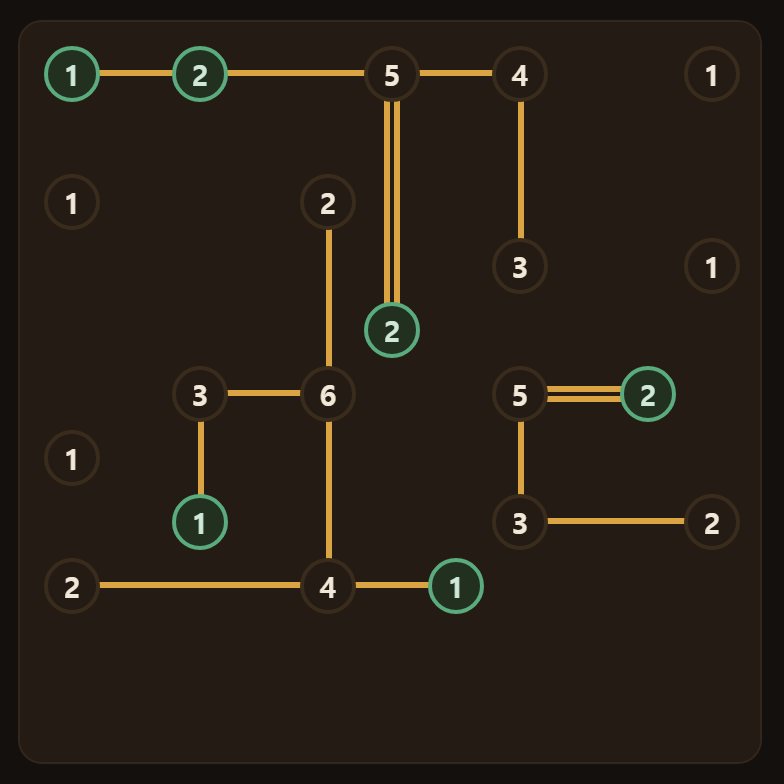
Common mistakes
Boards that stall here nearly always come down to one of these four.
- Ignoring connectivity — the most common. Matching every number looks like a finish, but the islands must not fall into groups.
- Joining 1 to 1 — the pair closes off by itself. Never right with three or more islands.
- Missing a crossing — long bridges are hard to follow by eye. When it says nothing can go there, look at what lies along the path.
- Reading the number as neighbours — it is bridges. A 4 means four bridges, not four neighbours.
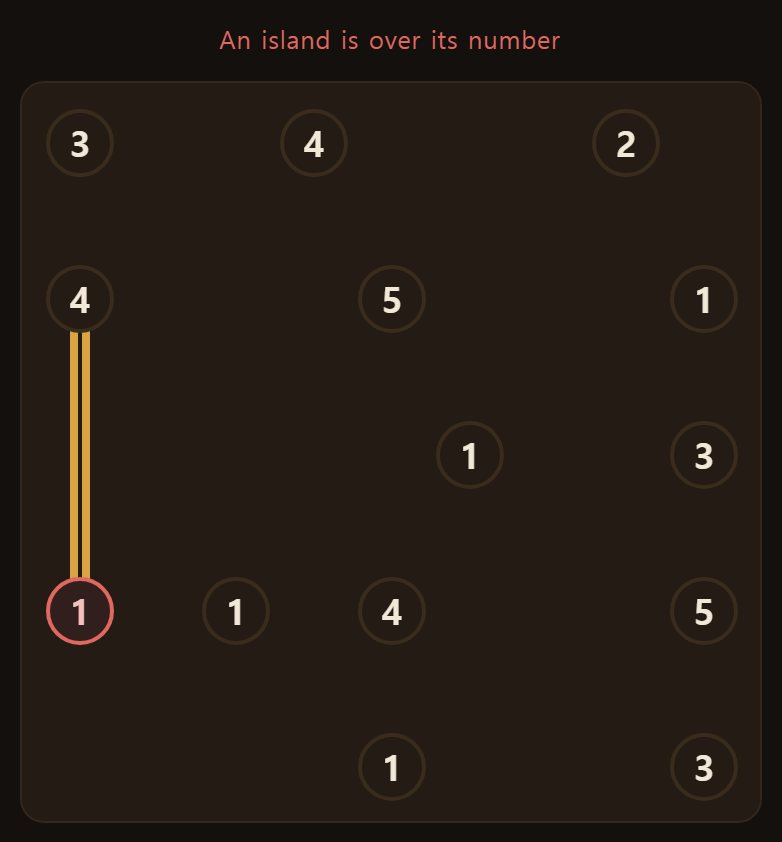
An island that has overshot turns red. When you see red, cut it back at once.
When you finish
Every number matched and every island joined into one, and it ends there. The bridges turn green and your time appears.
A best time is kept separately for each board size and difficulty.
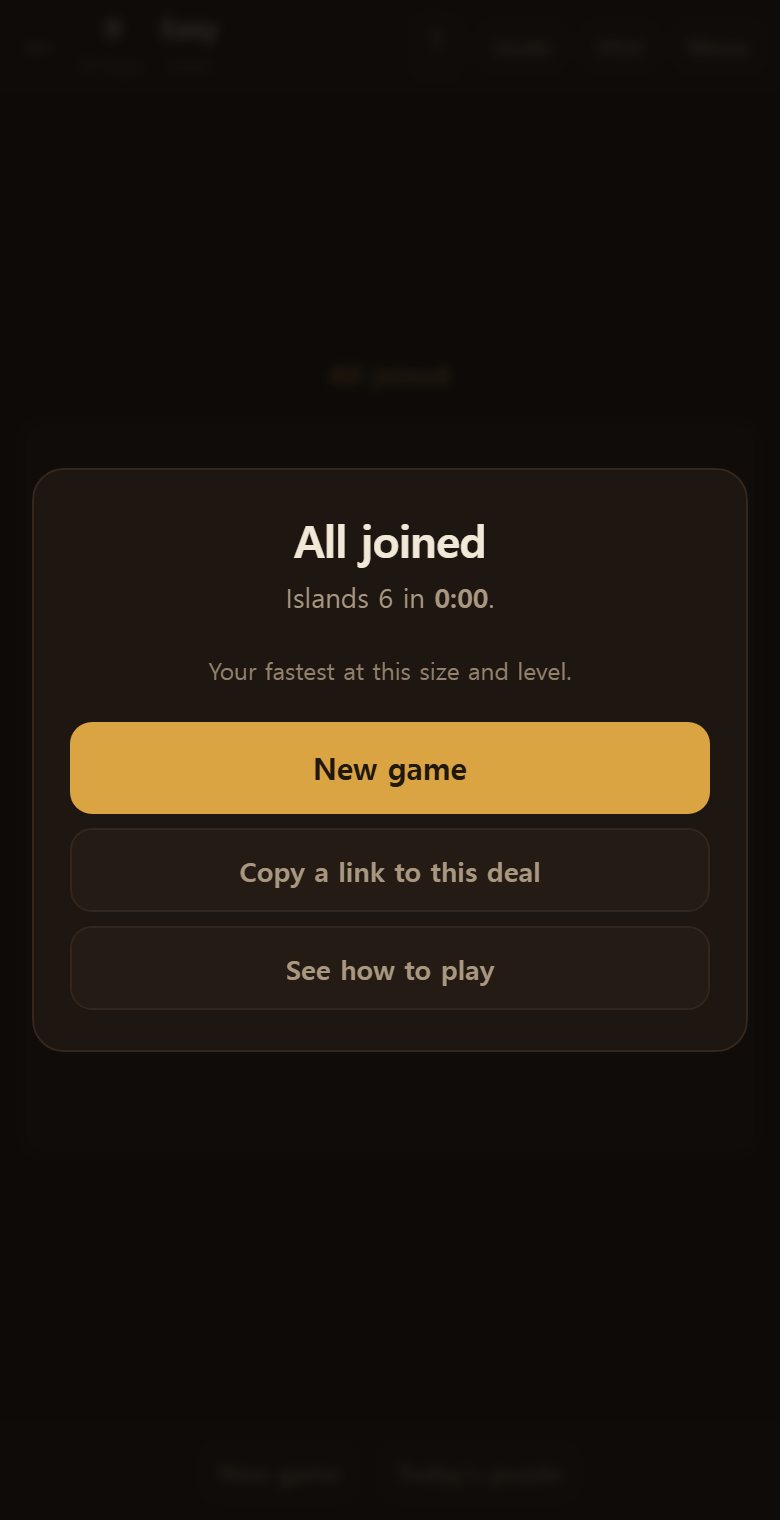
Press New board for a different one. Every board is checked to solve without guesswork before it is dealt.
Common questions
Tap between two islands, not on an island. Once for a single, twice for a double, three times to clear.
No. Bridges run straight, across or down only. Nor can you join two islands with another island between them.
No, it is the bridge count. A 4 could be doubles to two neighbours or singles to four.
The islands are in separate groups. From any island you must be able to reach them all. Clear something and rejoin it differently.
Both fill their numbers and can take nothing more, so the pair closes off by itself with no way to reach the rest. A double between two 2s does the same.
With islands whose number fits their neighbours exactly — a 4 in a corner, a 6 on an edge, an 8 in the middle. There is nothing to choose, so they settle at once.
The game tells you why not — it would cross another bridge, or overshoot an island’s number.
The hint means at least this many. It only reports what is certain now, so another may go down there later.
No. Every board is checked to solve by reasoning alone. Reasoning through to the end means every step was forced, so the answer is unique.
- Start with the 1s and 2s that have only one neighbour. They settle immediately.
- A 4 in a corner, a 6 on an edge, an 8 in the middle — the neighbours match exactly, so every bridge is a double.
- Each time you lay a bridge, check whether that island is full. If it is, nothing more can meet it.
- At the end, always check that the islands have not split into groups. Right numbers alone are not enough.
- Press Hint when you are stuck. It gives you one bridge to lay and the reason for it.